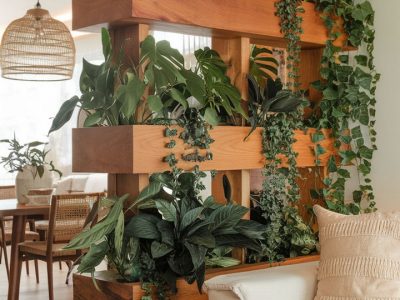
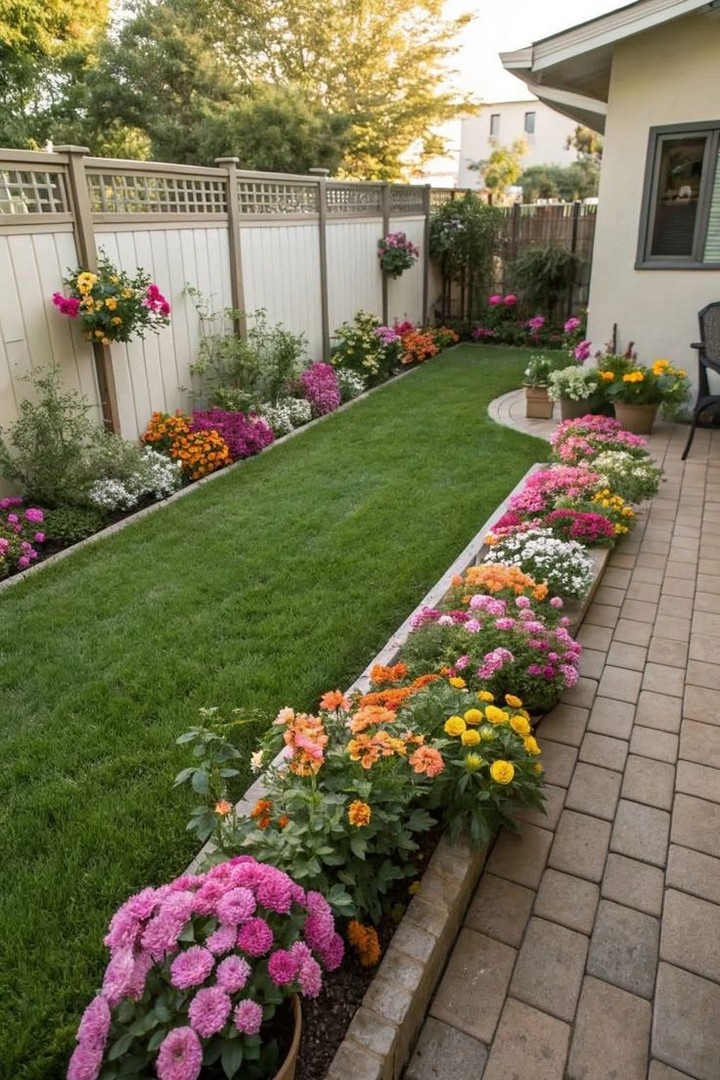
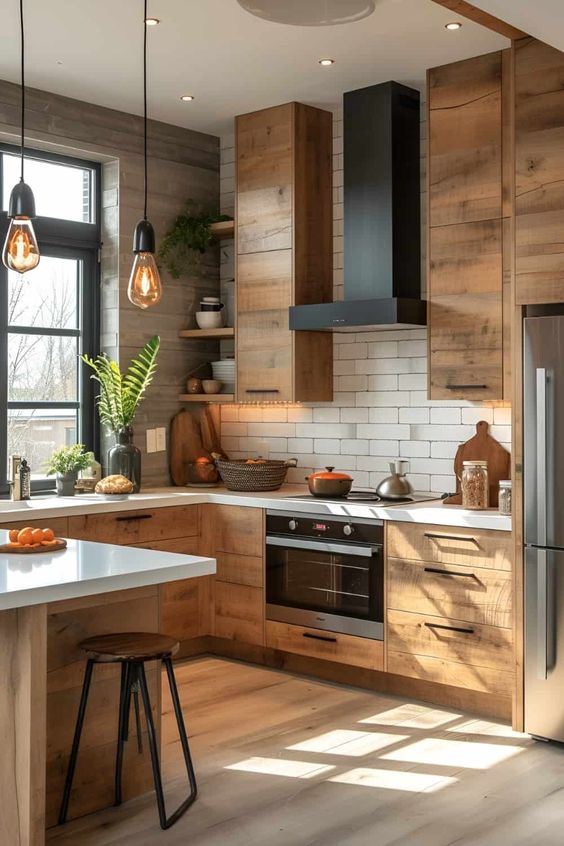
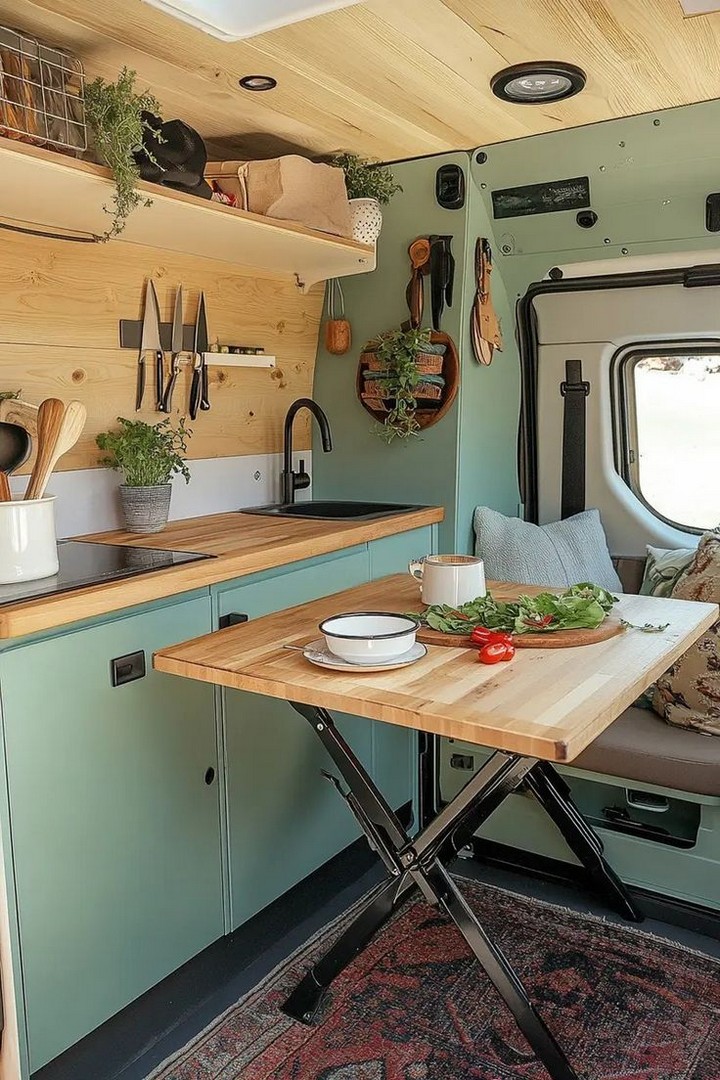
Indoor plant walls (or vertical gardens) are a breathtaking way to bring nature into your home while maximizing space. Whether you’re a plant enthusiast or a beginner, creating a DIY indoor plant wall is easier than you think!
Transforming your home into a green oasis is easier than you think! A DIY indoor plant wall is an excellent way to bring nature indoors, purify the air, and create a stunning focal point. Whether you live in a small apartment or a spacious house, a vertical garden adds beauty and tranquility to any space.
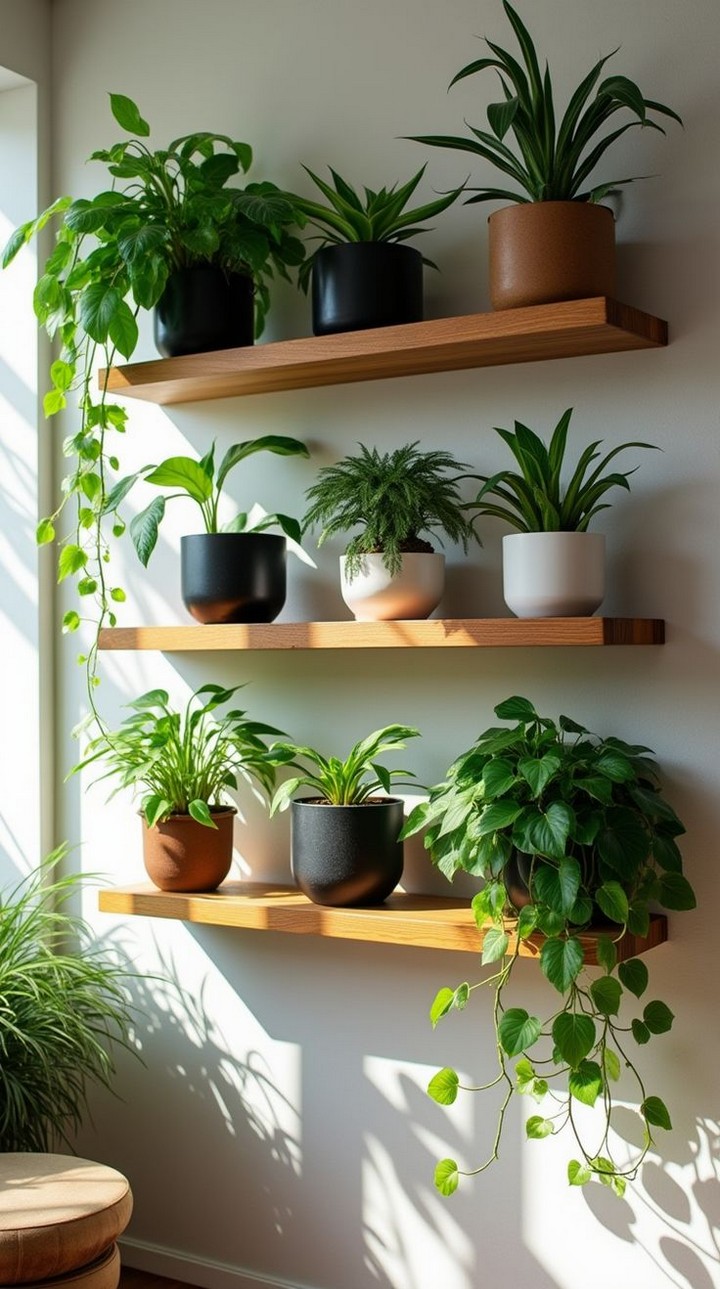
Indoor plant walls are a stunning way to bring nature into your home while saving floor space. Whether you’re looking to improve air quality, add a touch of greenery, or create a statement decor piece, a DIY indoor plant wall is an excellent choice. This comprehensive guide will walk you through 25 easy steps to create your own lush vertical garden at home.
Choose the Right Wall
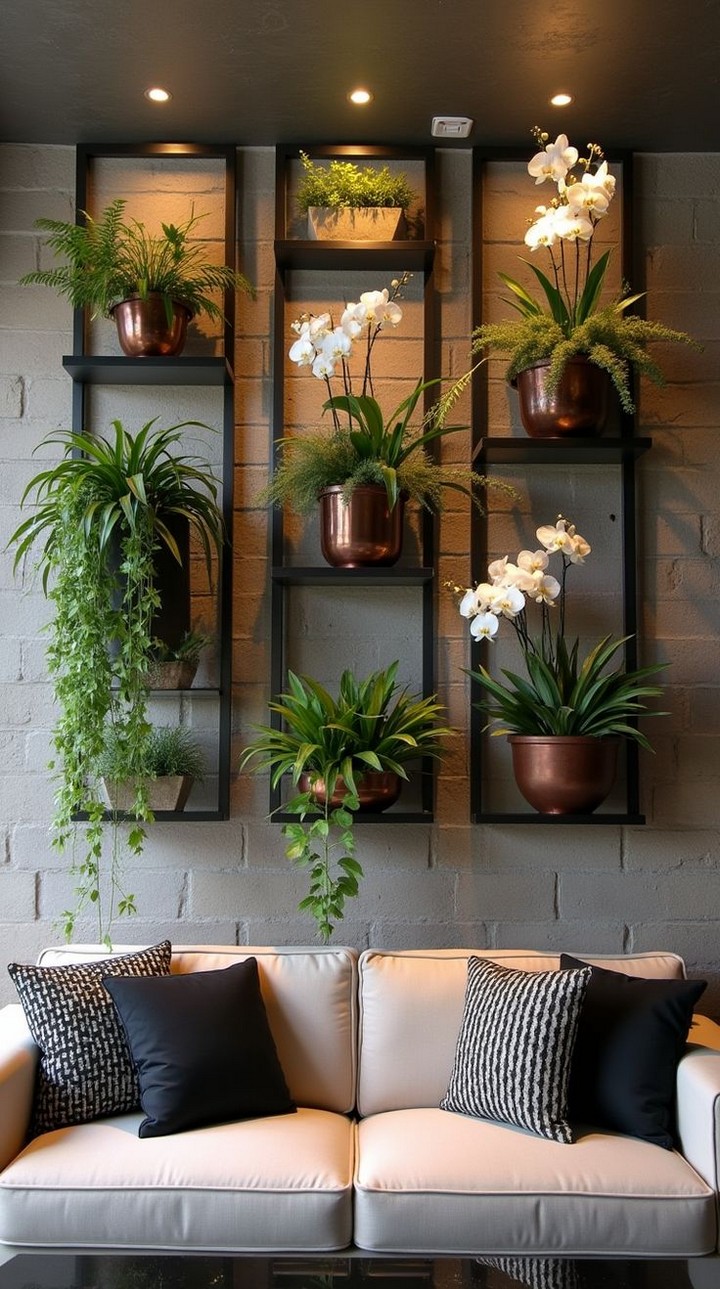
Select a wall that receives adequate natural light and complements your interior design. If natural light is limited, consider using grow lights to keep your plants healthy.
Determine the Wall Size
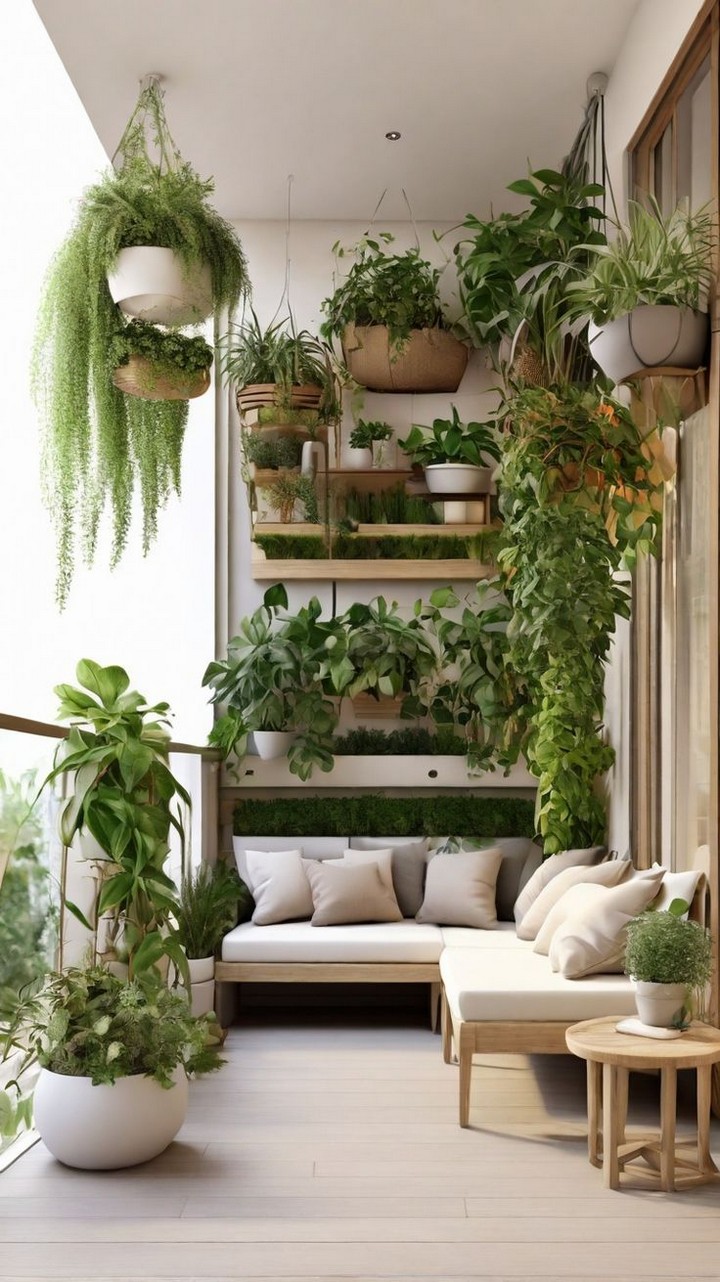
Measure the space where you want to install the plant wall. Decide on the width and height to ensure your design fits well within the chosen area.
Select the Right Plants
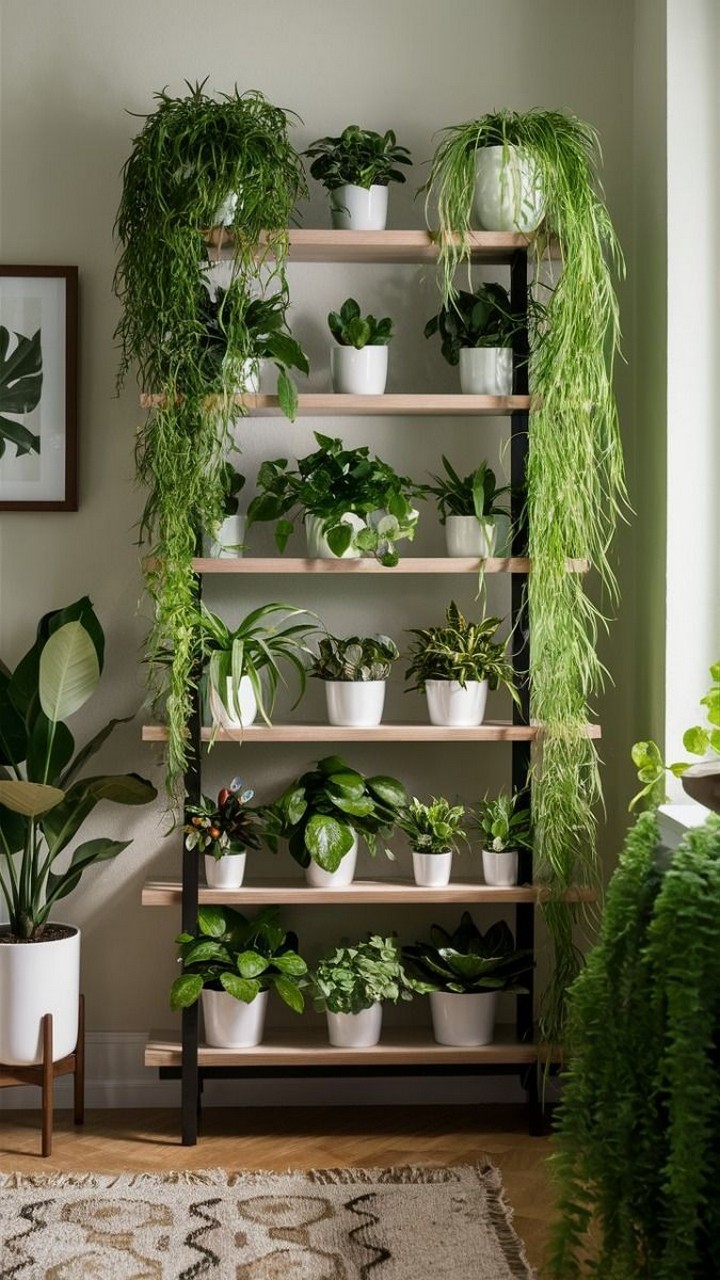
Choose plants that thrive indoors, such as pothos, ferns, philodendrons, or air plants. Consider a mix of textures and colors to enhance visual appeal.
Pick a Mounting System
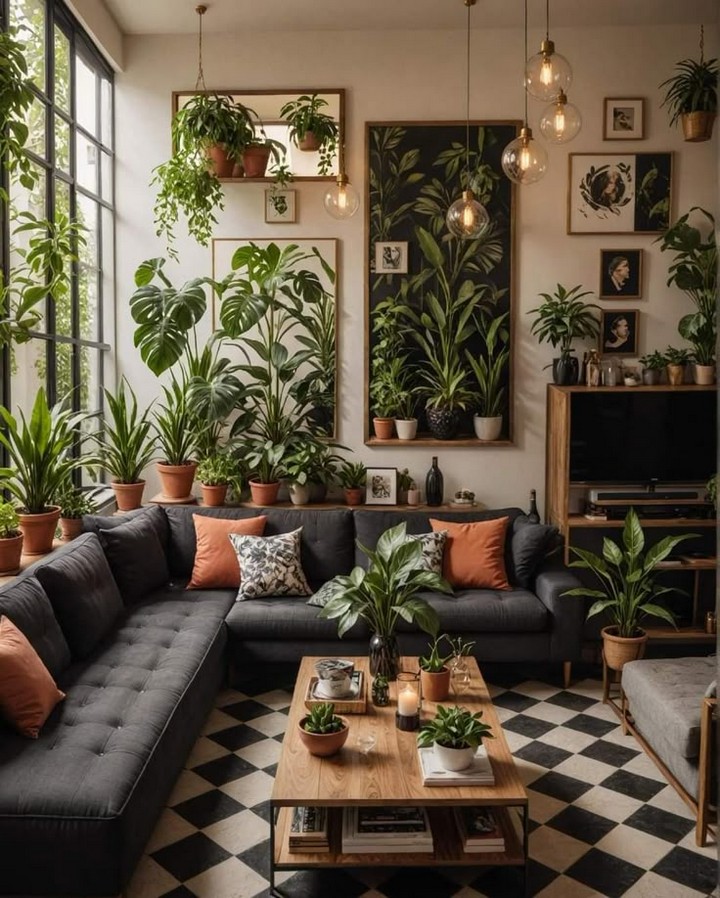
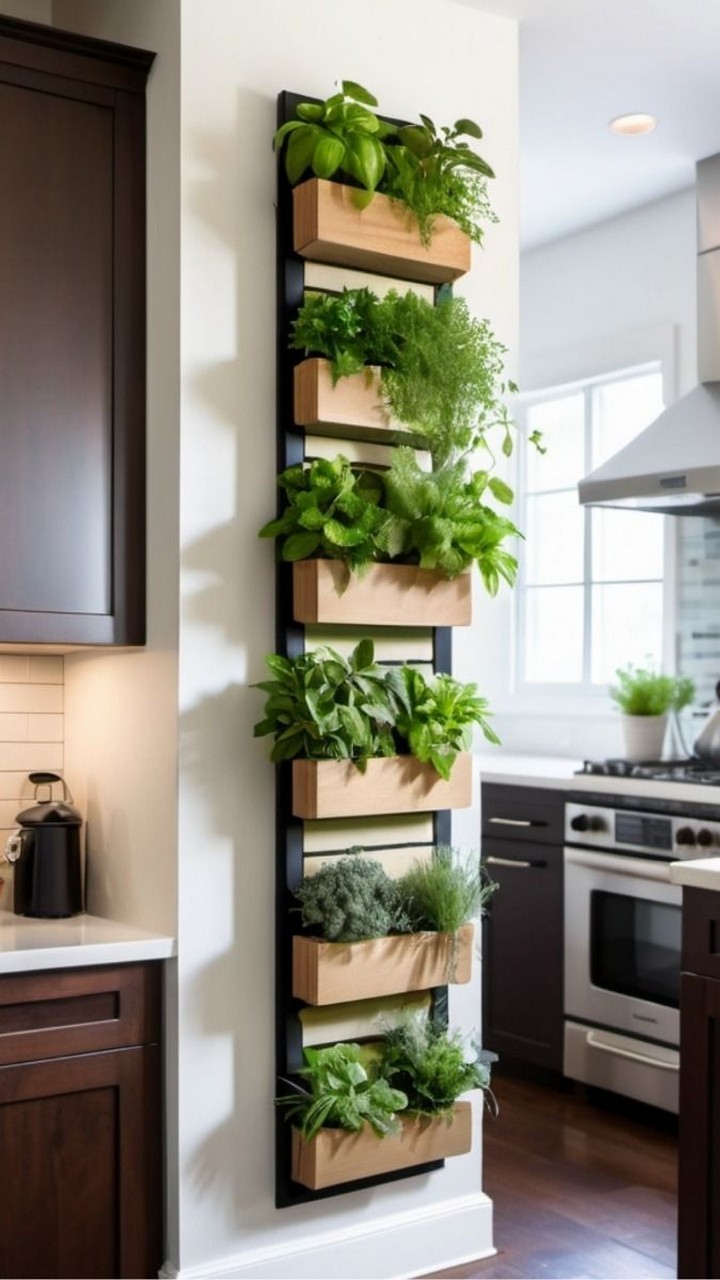
There are multiple ways to mount your plant wall, including wooden frames, metal grids, floating shelves, and pocket planters. Choose a system that matches your home’s aesthetic and space availability.
Gather Essential Supplies
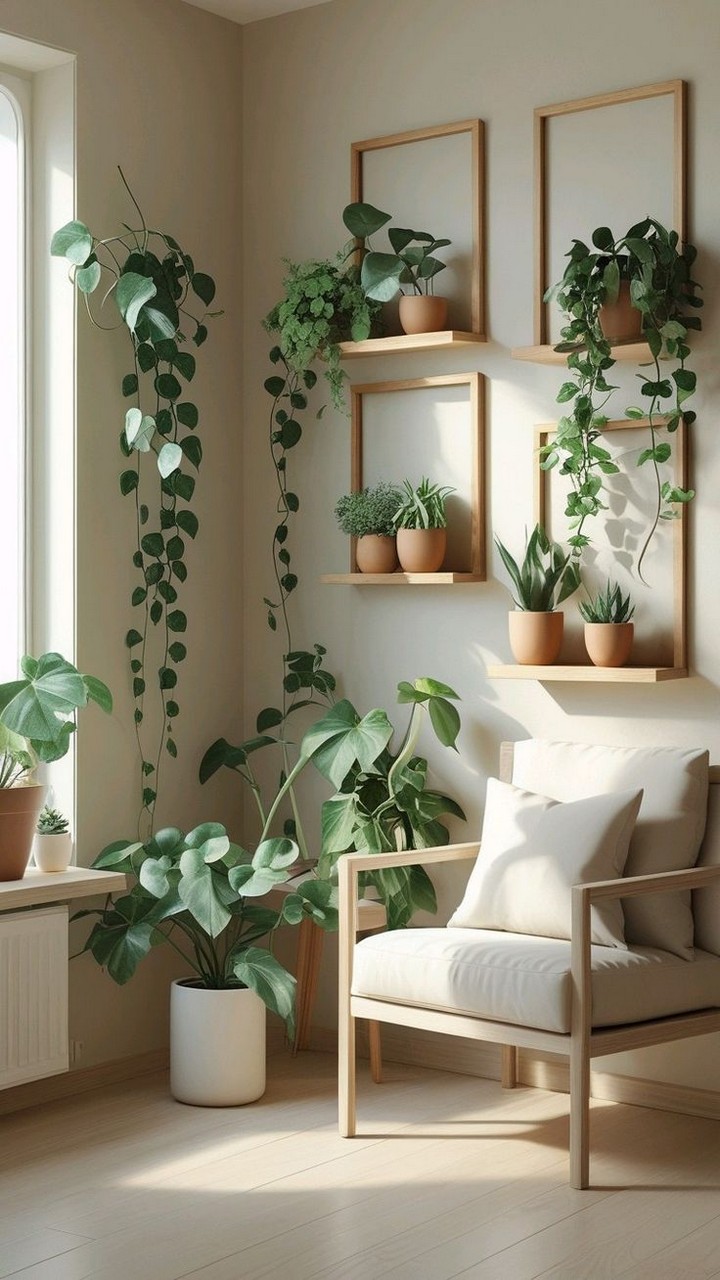
You’ll need wall anchors, planters, hooks, a drill, screws, waterproof backing (if needed), and soil or a hydroponic system, depending on your chosen setup.
Prepare the Wall Surface
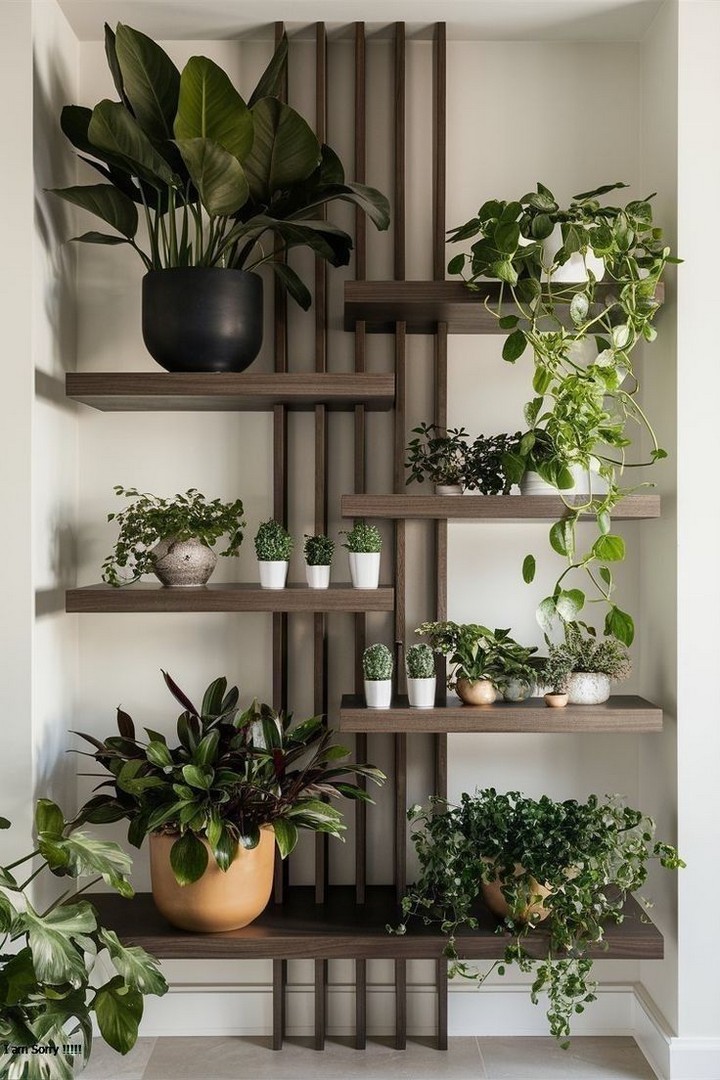
Clean the wall thoroughly to remove dust and debris. If necessary, install a waterproof backing to protect against moisture damage.
Install a Support Structure
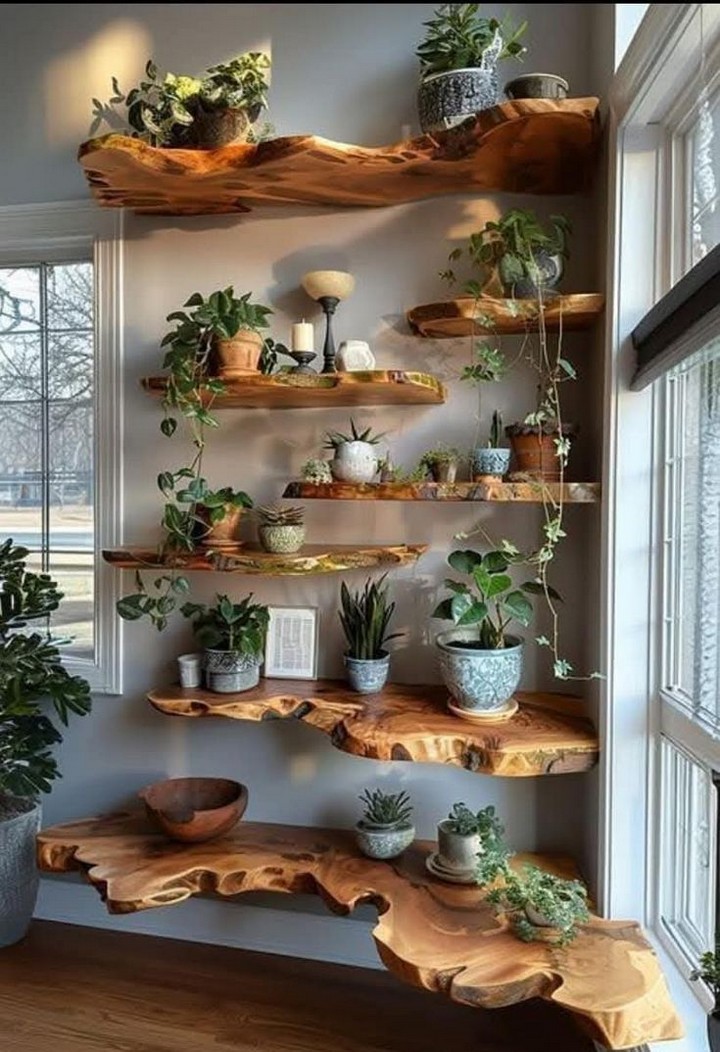
If using a metal grid, wooden frame, or trellis, secure it to the wall using appropriate mounting hardware to ensure it can hold the weight of your plants.
Position the Planters
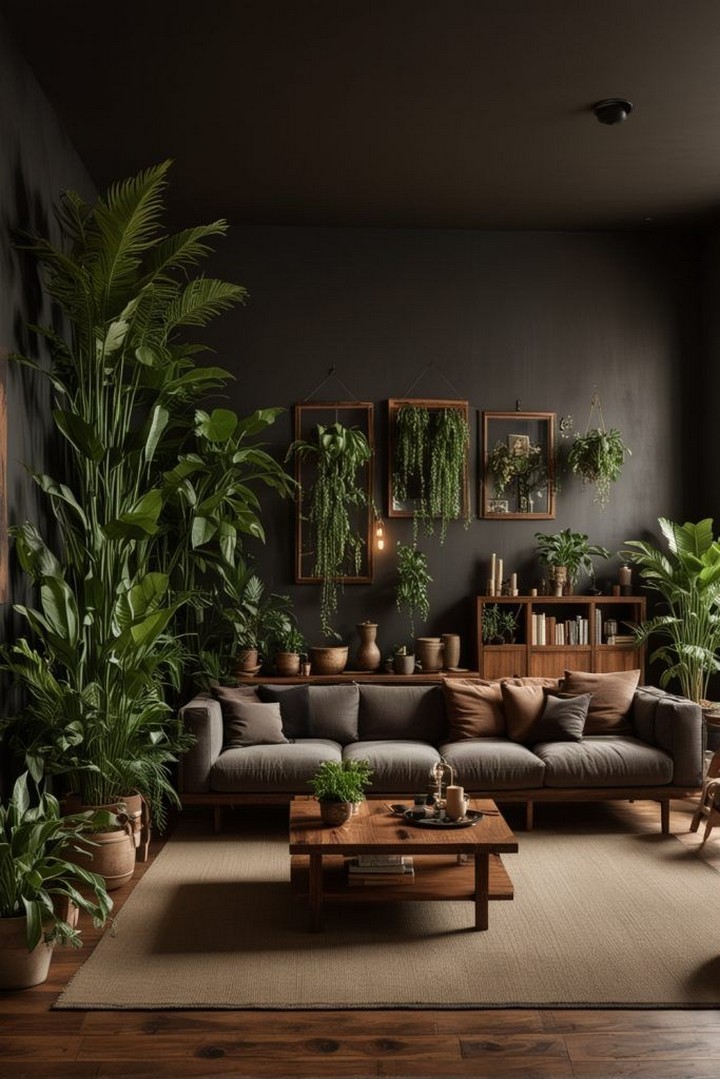
Arrange your planters or pockets on the wall before attaching them. This step helps visualize the final design and make necessary adjustments.
Secure the Planters
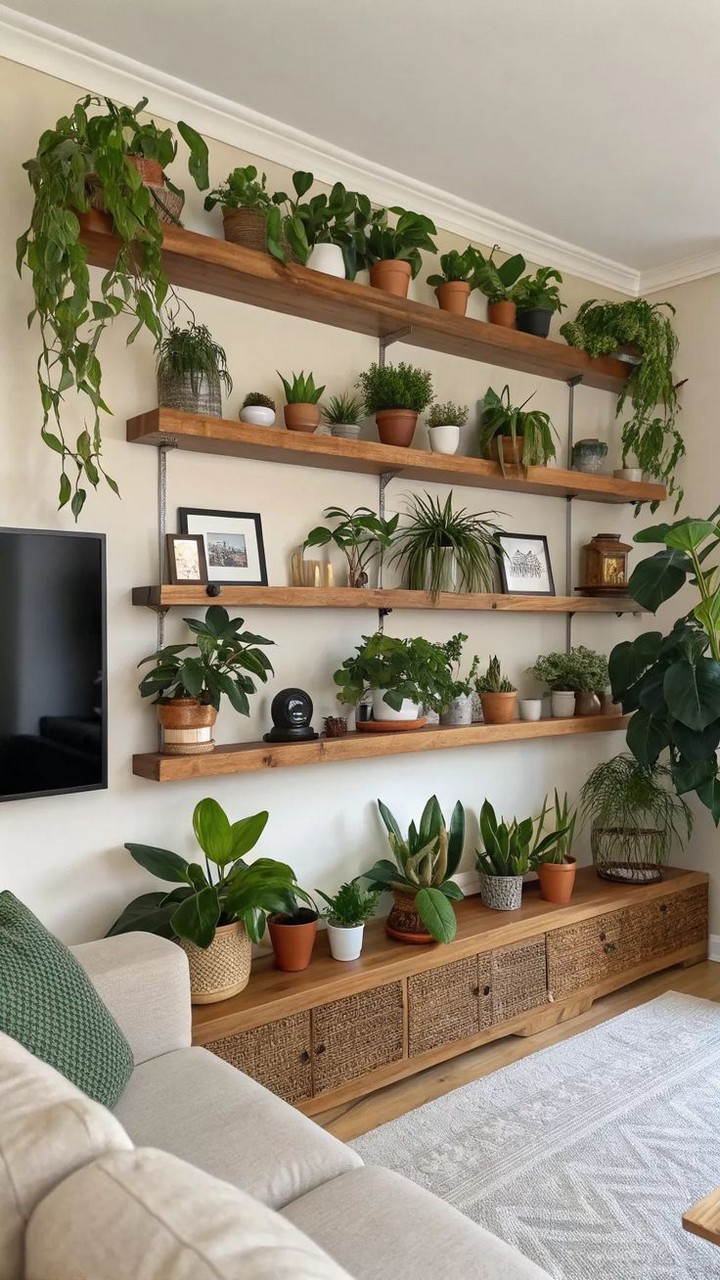
Attach the planters using screws, hooks, or adhesive strips, depending on your chosen method. Make sure each planter is securely fastened to prevent falling.
Add Drainage Solutions
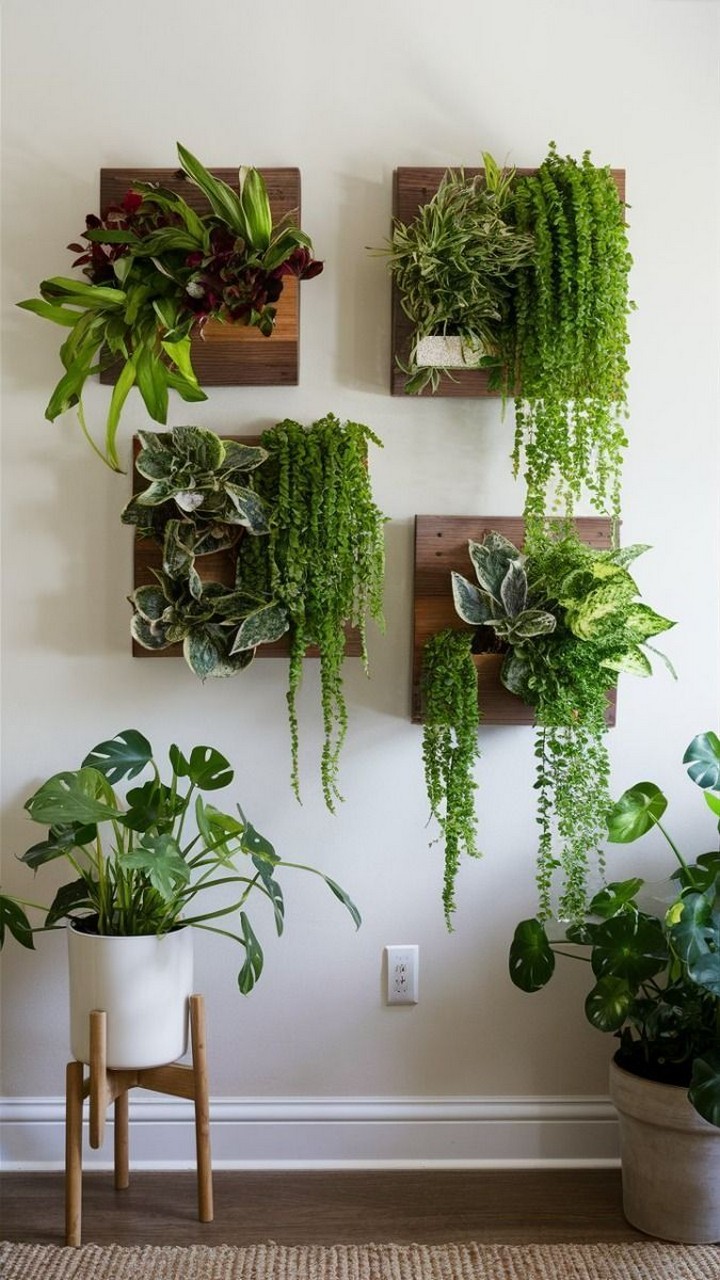
To avoid water damage, use pots with drainage holes and place a waterproof barrier behind the plant wall. Consider a drip irrigation system for easy watering.
Fill Planters with Soil
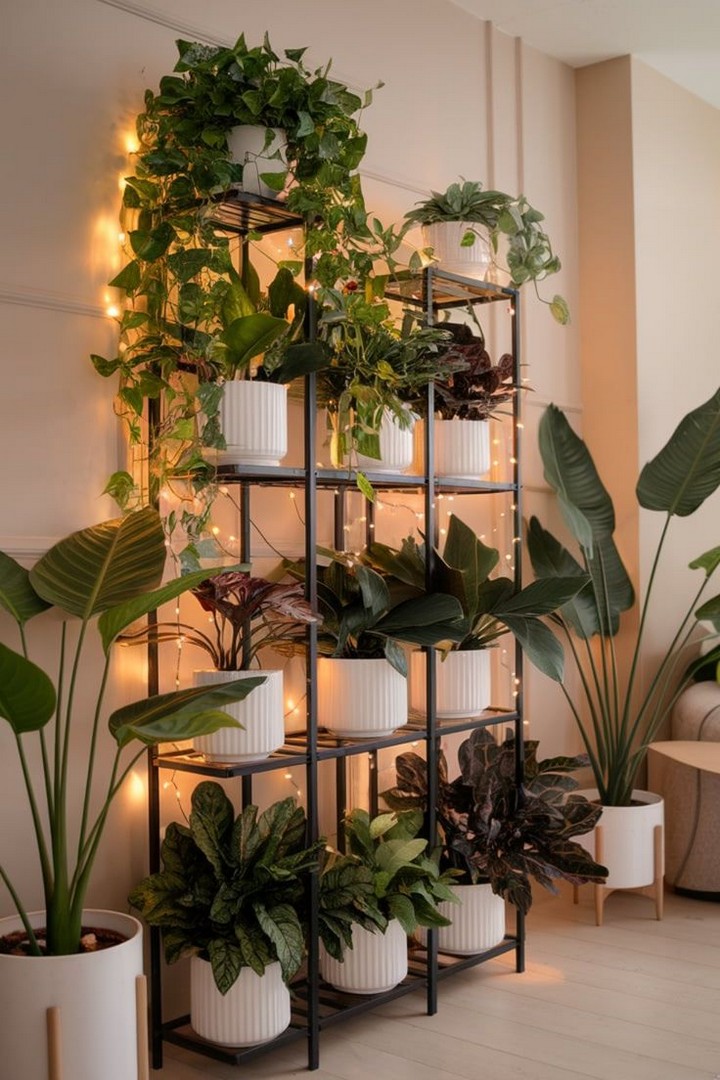
Use high-quality potting mix suitable for indoor plants. If using a hydroponic setup, install the necessary water reservoirs and nutrient solutions.
Arrange the Plants
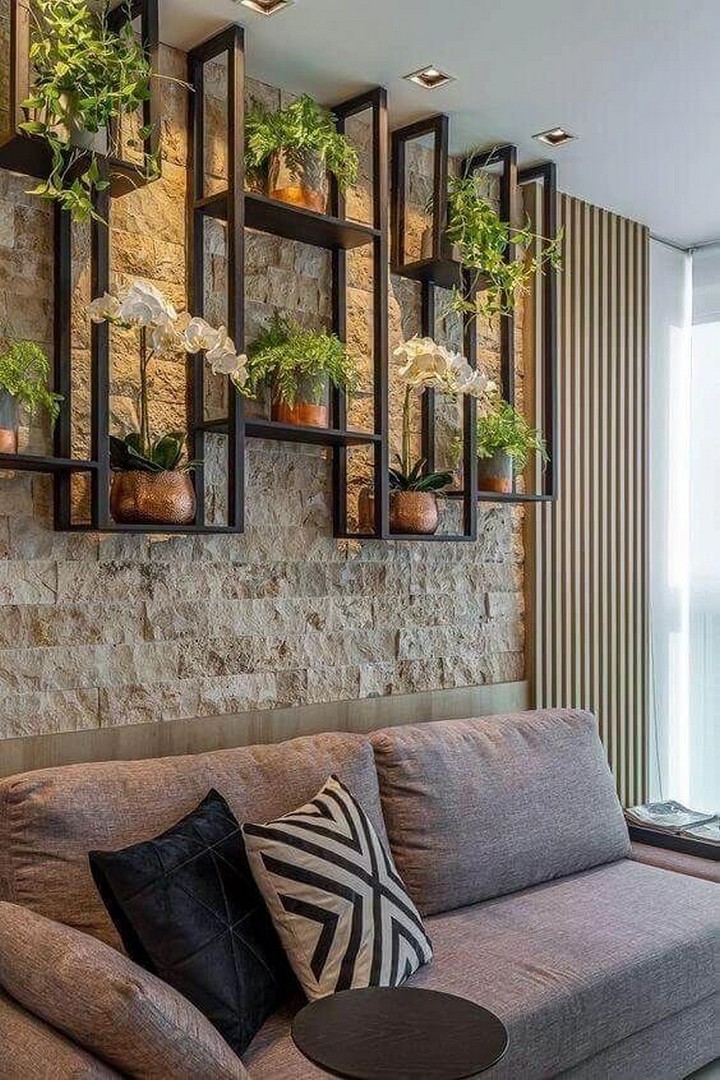
Position your plants in the planters based on their light and water requirements. Taller plants should go at the top, while trailing plants work well in the middle or bottom.
Secure Plants in Place
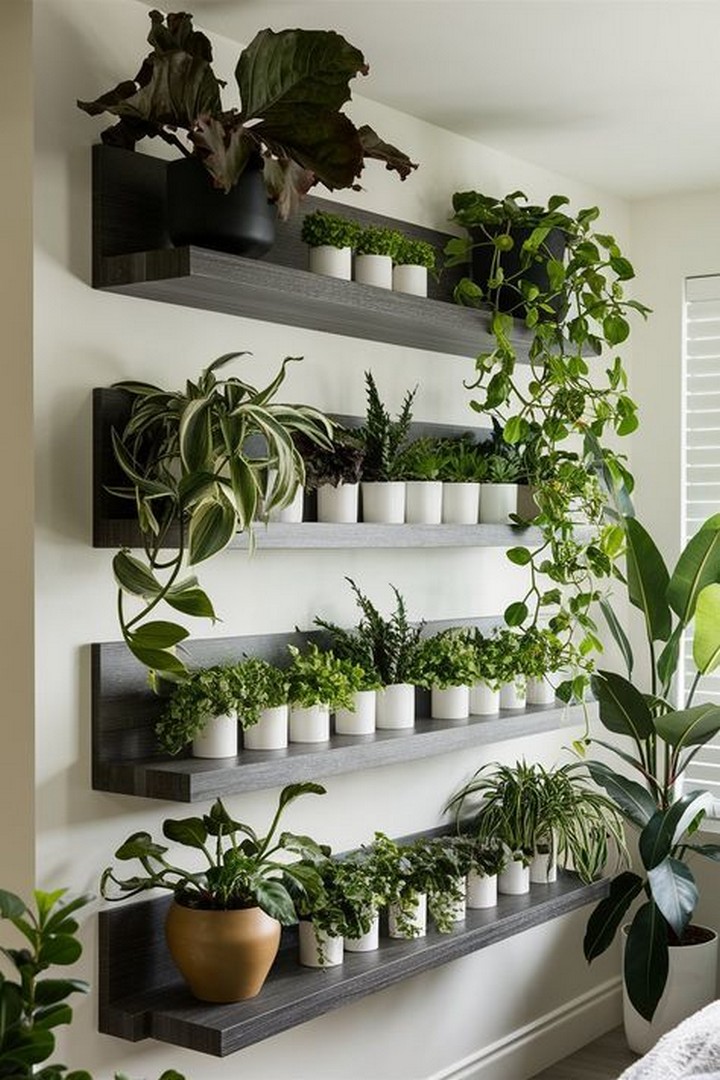
Use plant ties or clips to keep vines and stems in place as they grow. This will help maintain the shape of your plant wall over time.
Watering System Setup
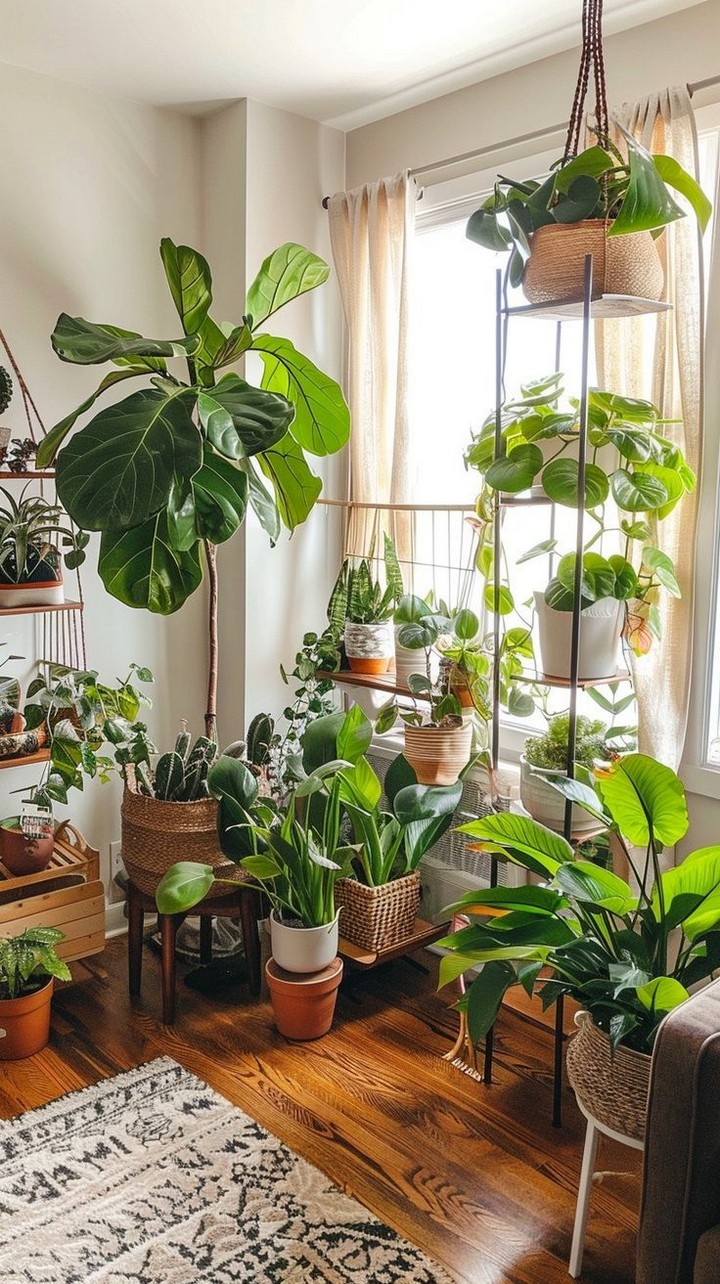
Choose a watering method that suits your needs, such as hand-watering, a self-watering system, or a drip irrigation system for convenience.
Provide Adequate Lighting
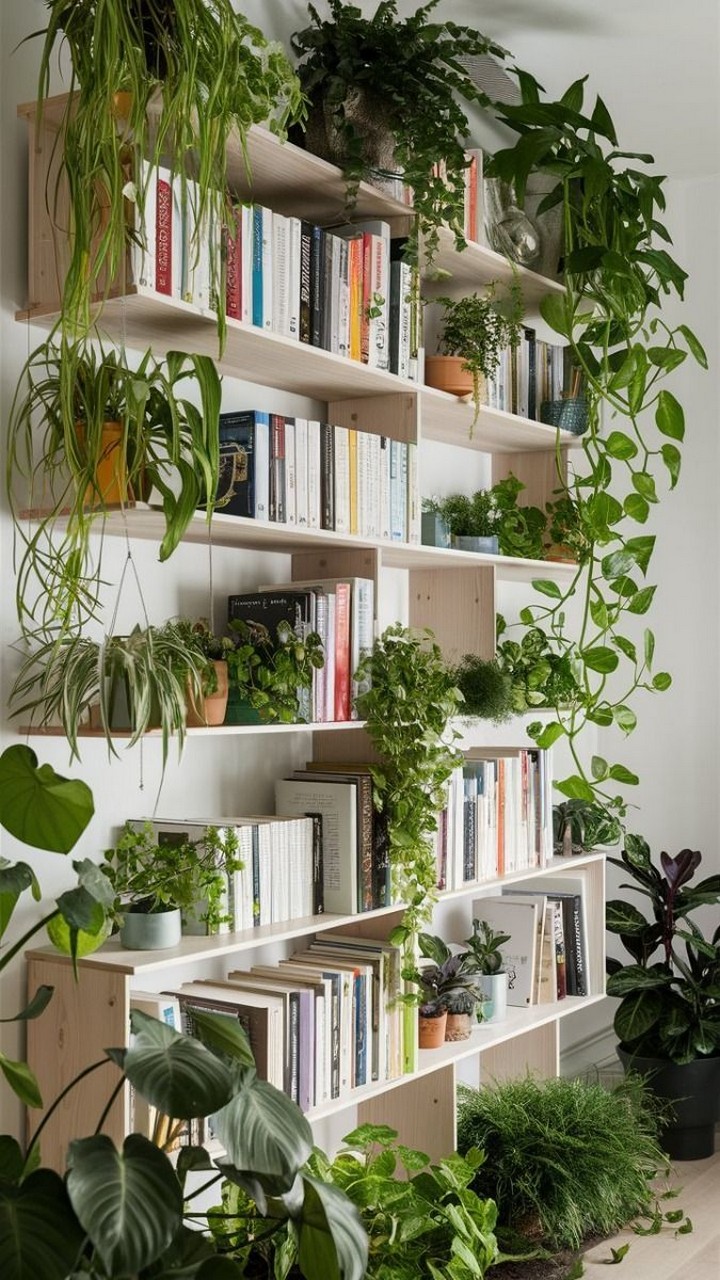
If your wall doesn’t receive enough natural light, install LED grow lights to keep your plants healthy and vibrant.
Monitor Humidity Levels
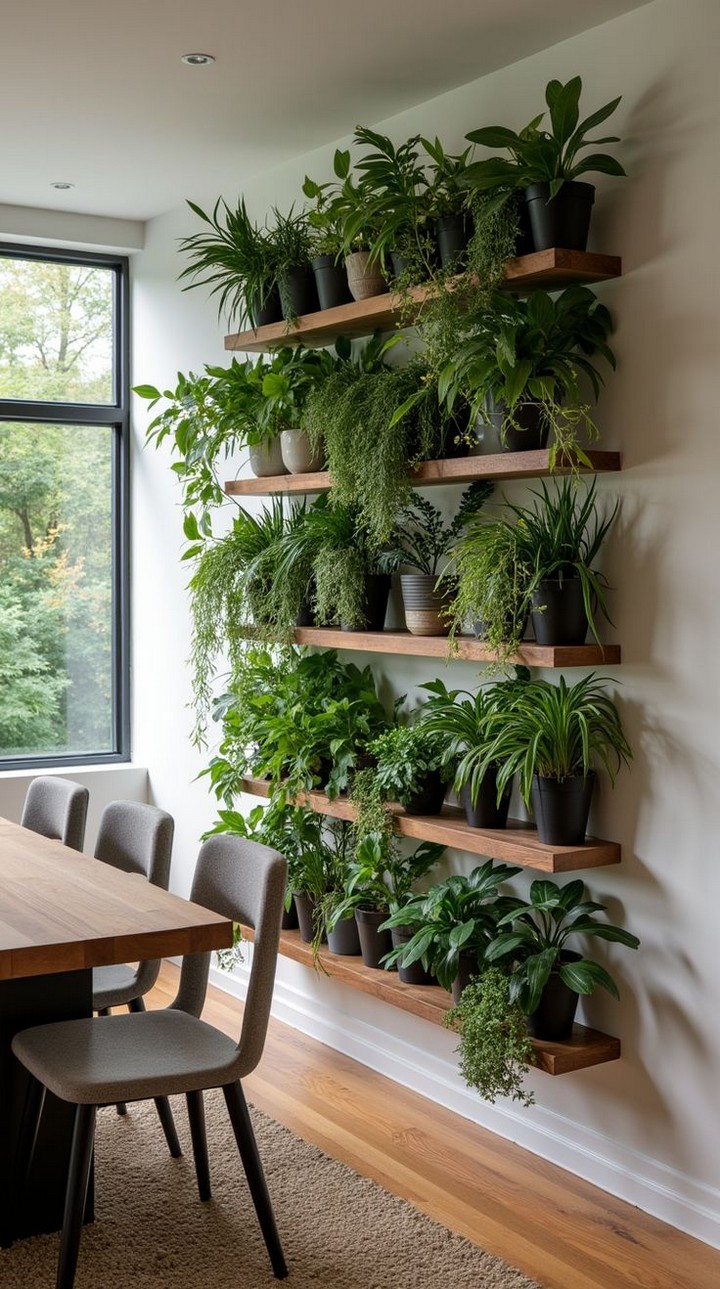
Indoor plants thrive in moderate humidity. Use a humidifier if the air in your home is too dry, especially in winter.
Fertilize for Optimal Growth
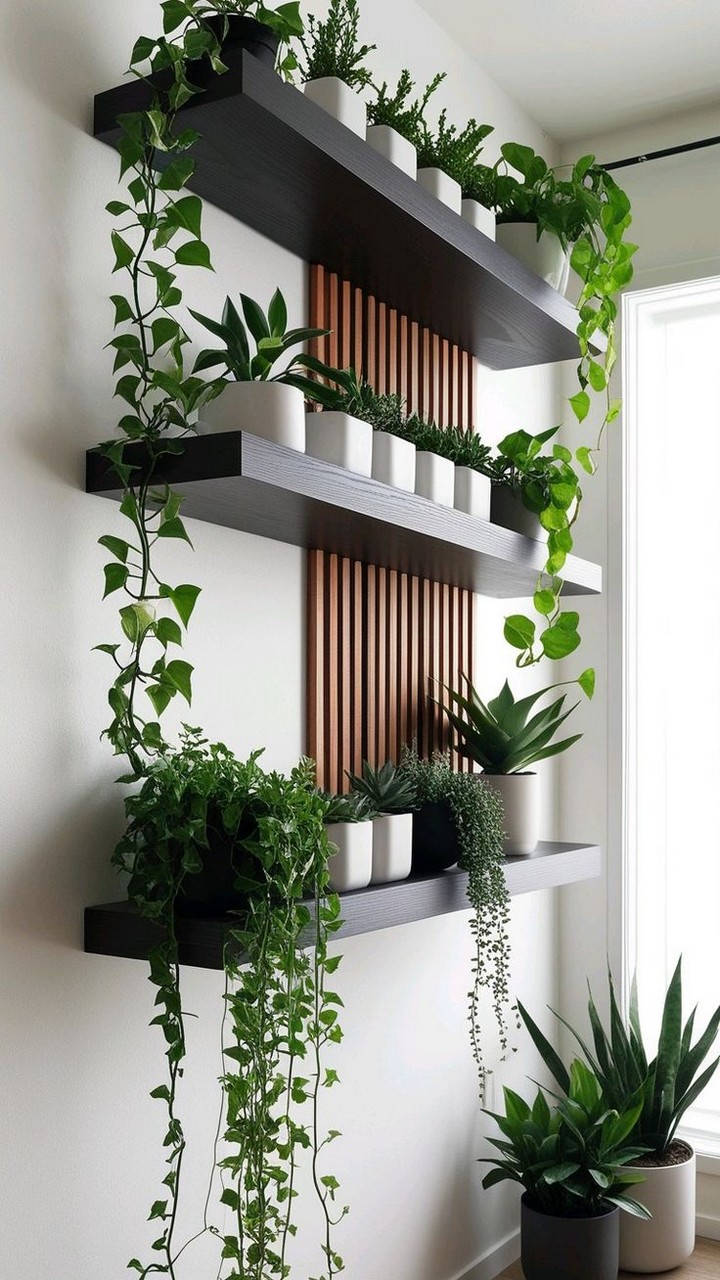
Feed your plants with organic liquid fertilizer every few weeks to promote lush growth and maintain their health.
Prune and Trim Regularly
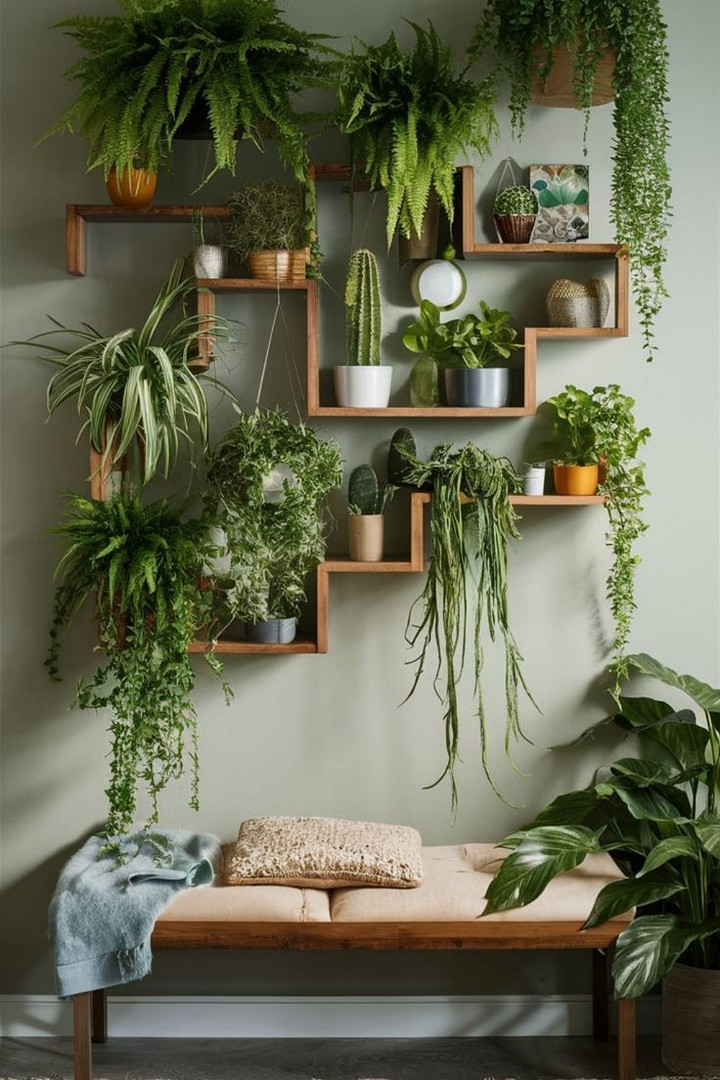
Trim dead leaves and overgrown stems to keep your plant wall neat and encourage new growth.
Check for Pests
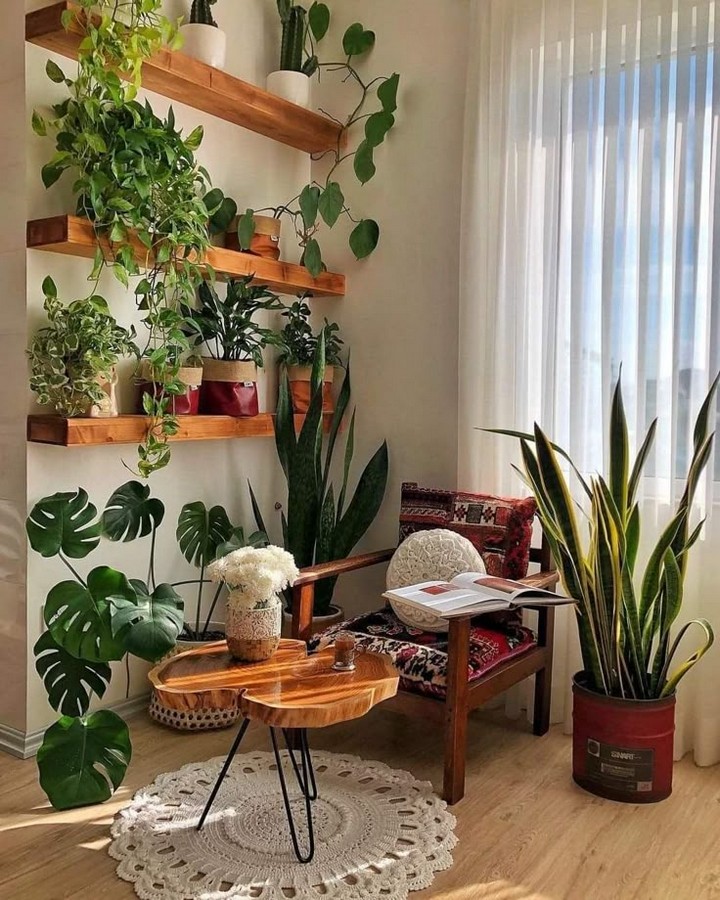
Inspect your plants for common indoor pests like aphids, spider mites, and fungus gnats. Treat infestations with neem oil or insecticidal soap.
Rotate Plants for Even Growth
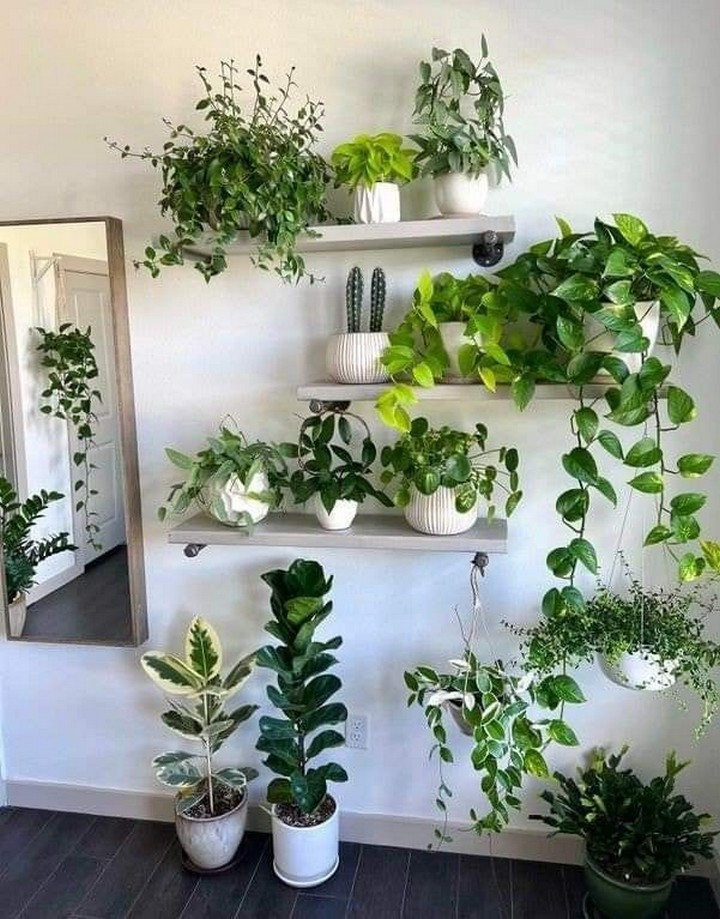
To prevent one side from growing unevenly, rotate the plants occasionally, especially if they lean towards a light source.
Incorporate Decorative Elements
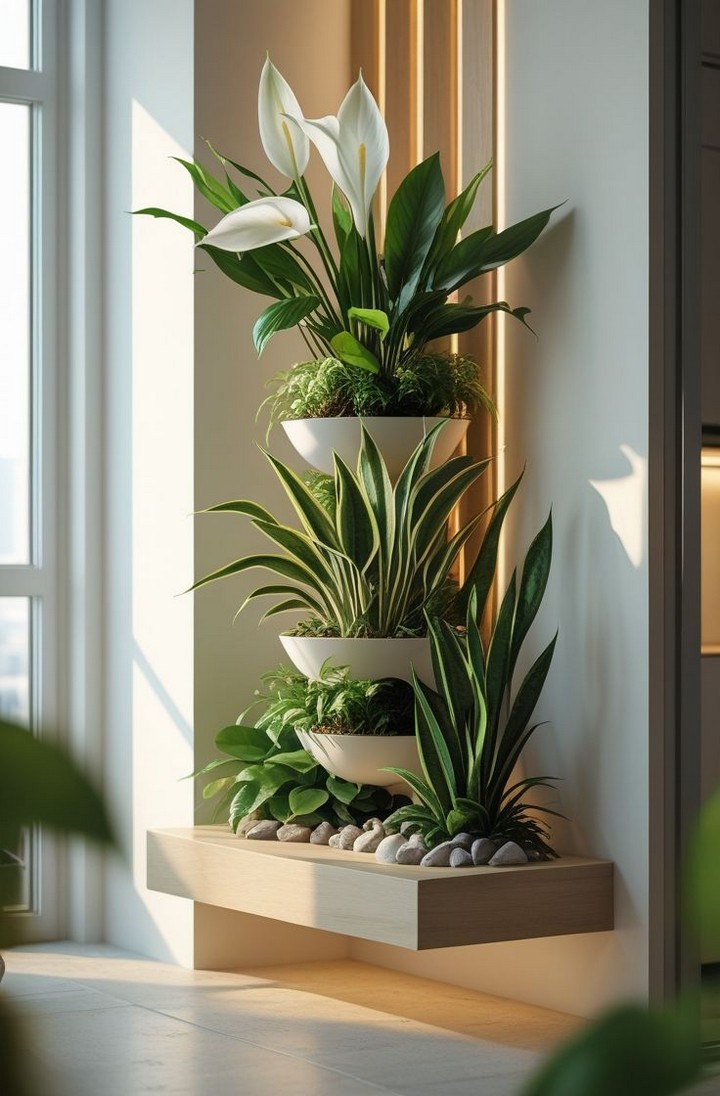
Enhance your plant wall with decorative items like fairy lights, artwork, or mirrors to add personality and charm.
Use Aromatic Herbs for Functionality
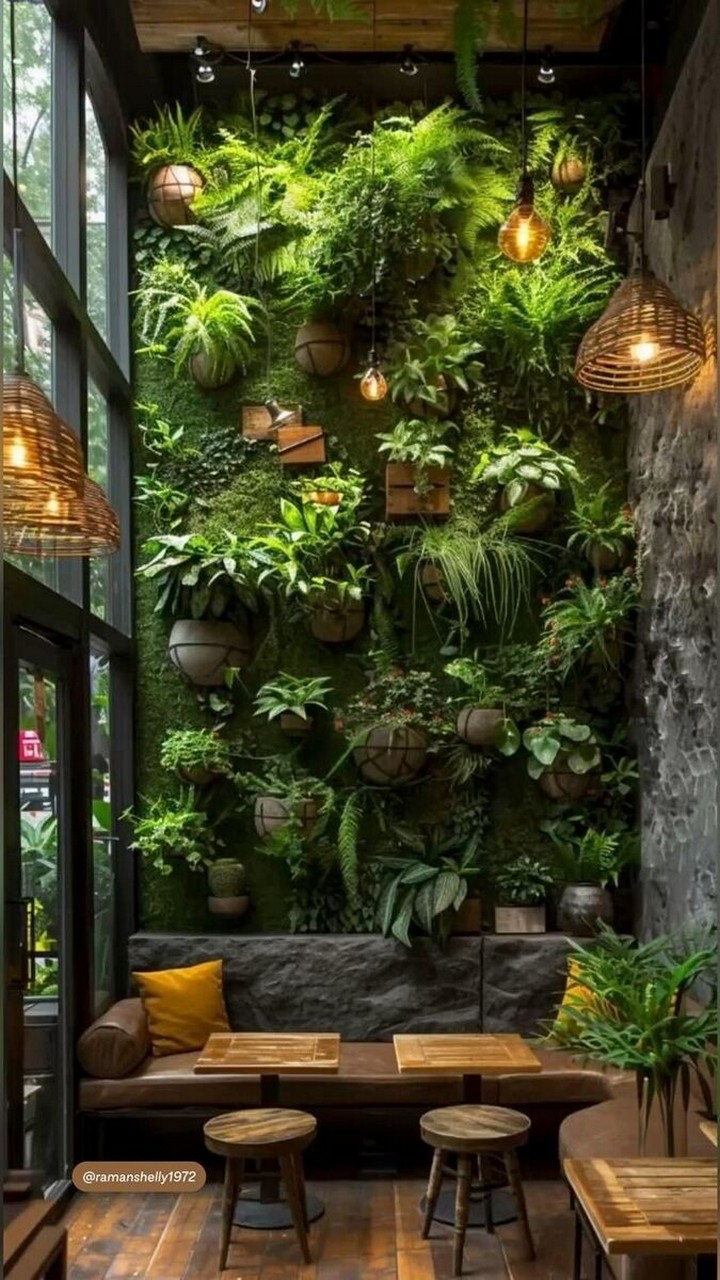
Consider incorporating herbs like basil, mint, and rosemary for a functional and fragrant vertical garden.
Adjust as Needed
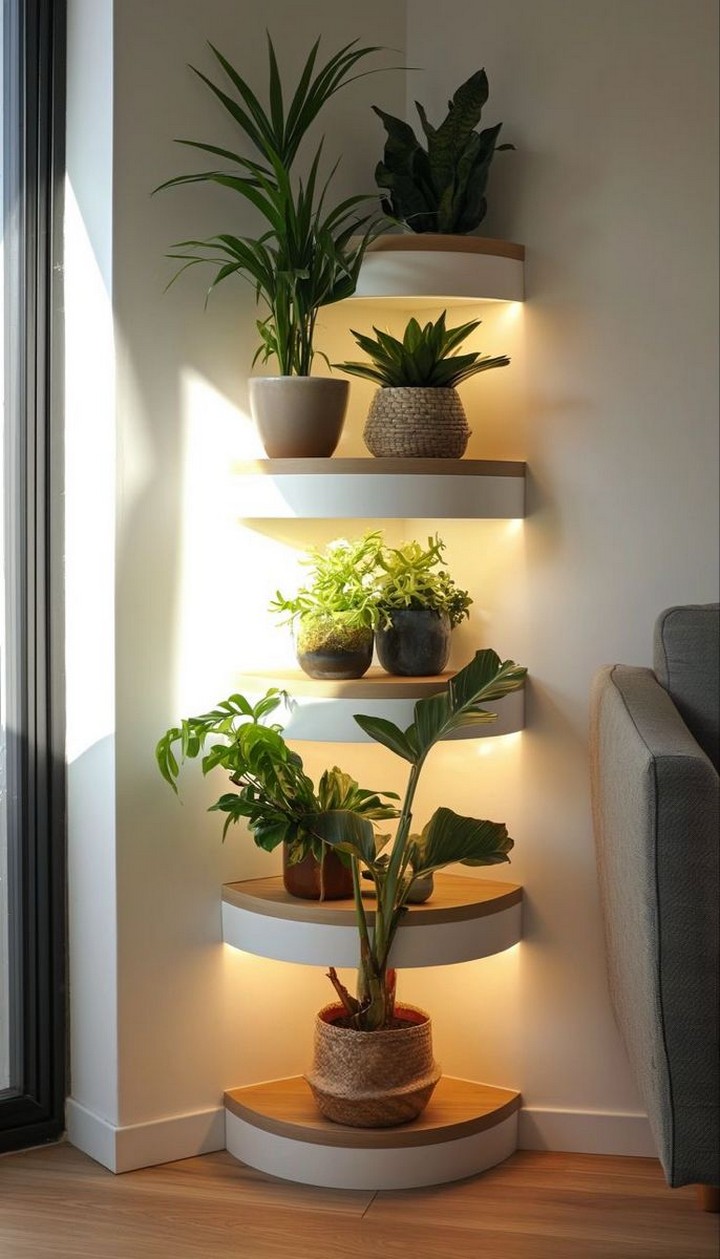
Observe how your plant wall evolves over time and make necessary adjustments, such as repositioning plants or improving lighting.
Enjoy the Benefits of a Green Space
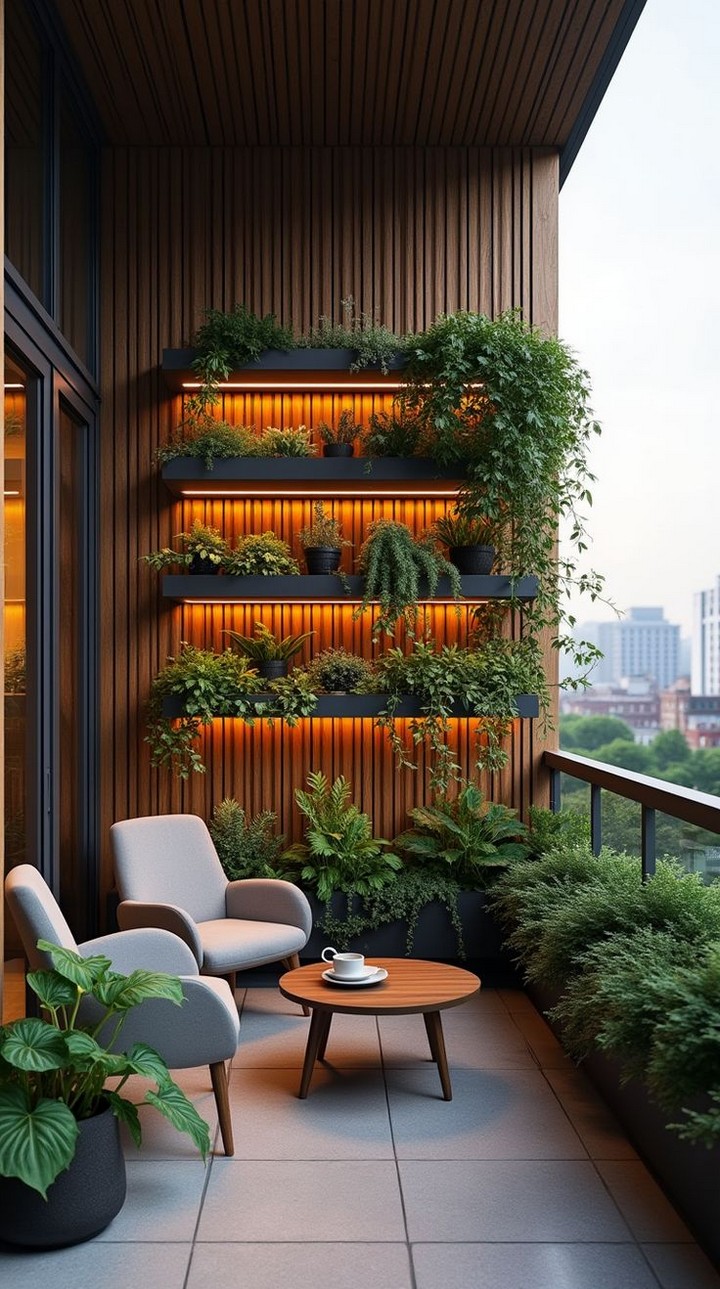
A lush plant wall improves air quality, reduces stress, and enhances overall well-being. Take time to appreciate your new indoor oasis.
Share Your Creation!
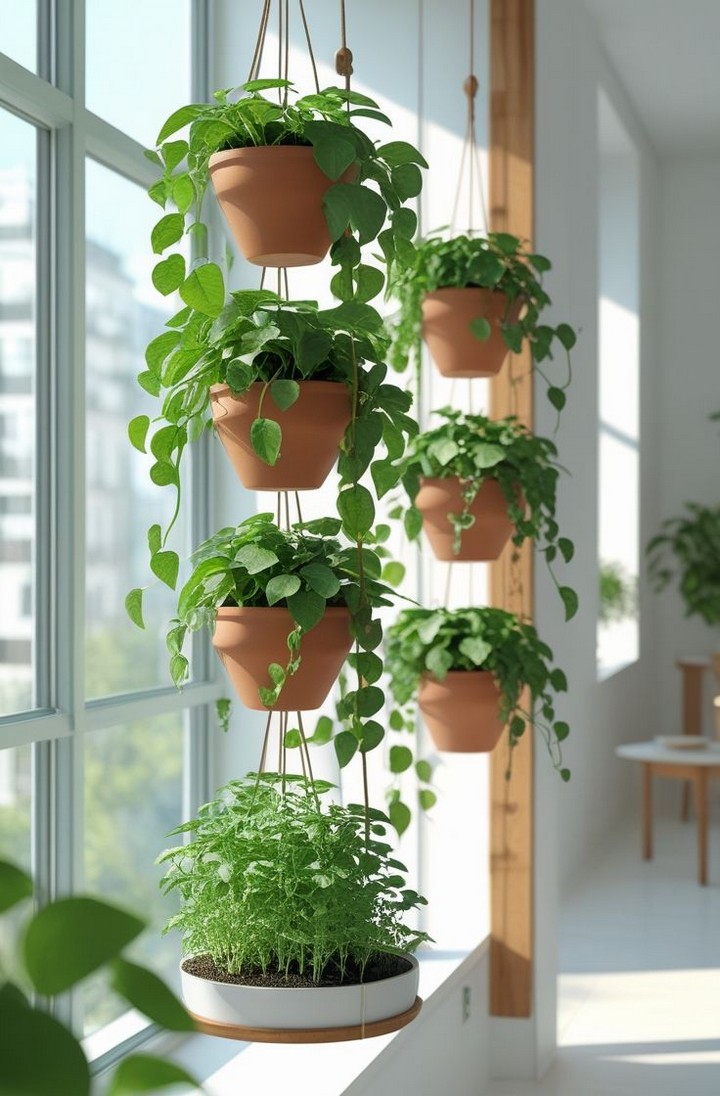
Inspire others by sharing photos of your DIY plant wall on social media or with friends. Encourage them to bring greenery into their homes too!
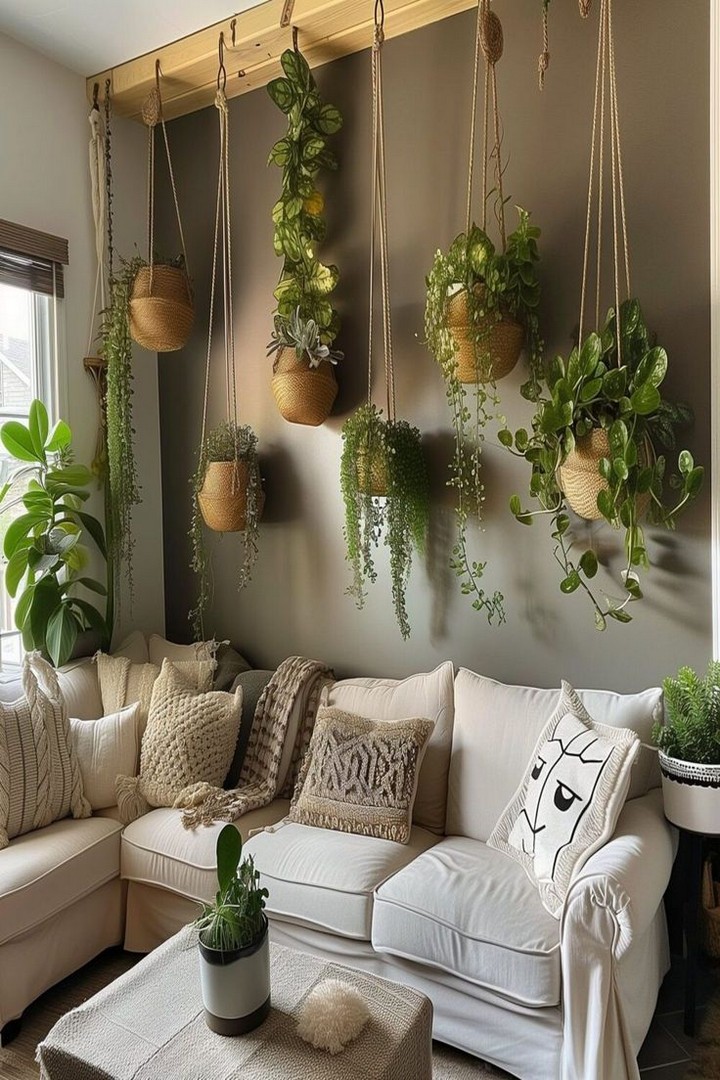
Creating a DIY indoor plant wall is a rewarding and transformative project that enhances your home’s aesthetic and promotes well-being. By following these 25 easy steps, you can design a beautiful and thriving vertical garden tailored to your space and style.
Creating a DIY indoor plant wall is a rewarding project that transforms your space into a green oasis. Whether you opt for a small herb wall in the kitchen or a floor-to-ceiling jungle, the possibilities are endless!
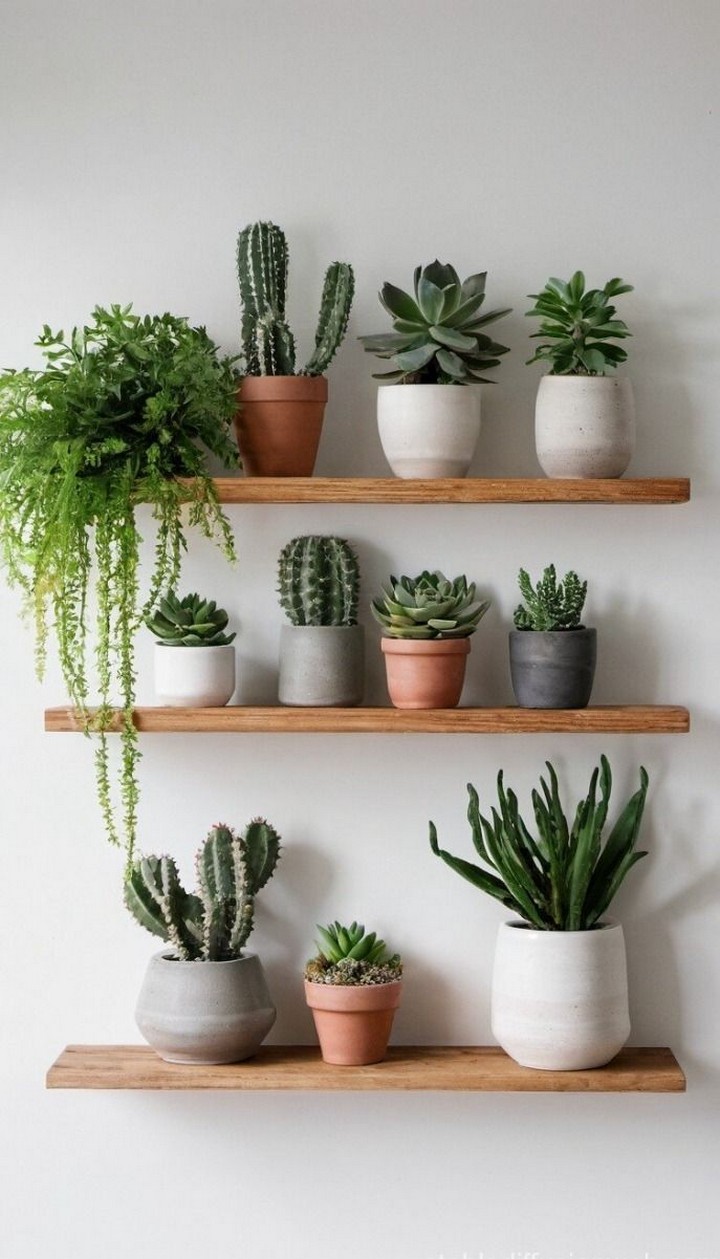
Have you built an indoor plant wall before? Share your experience in the comments below! If you found this guide helpful, don’t forget to share it with fellow plant lovers and check out our other DIY gardening tips.

