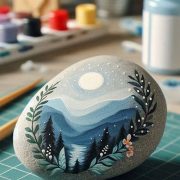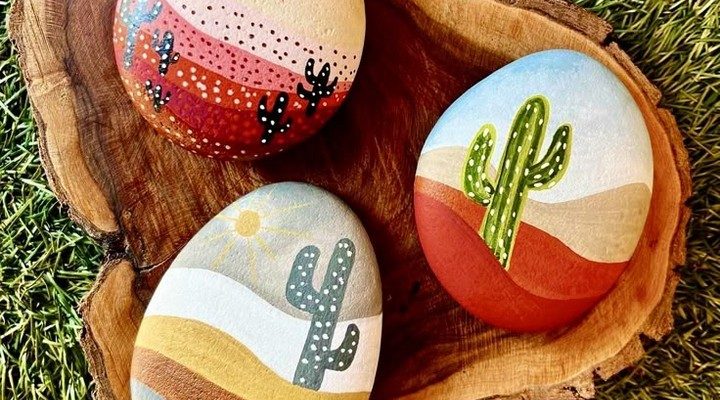
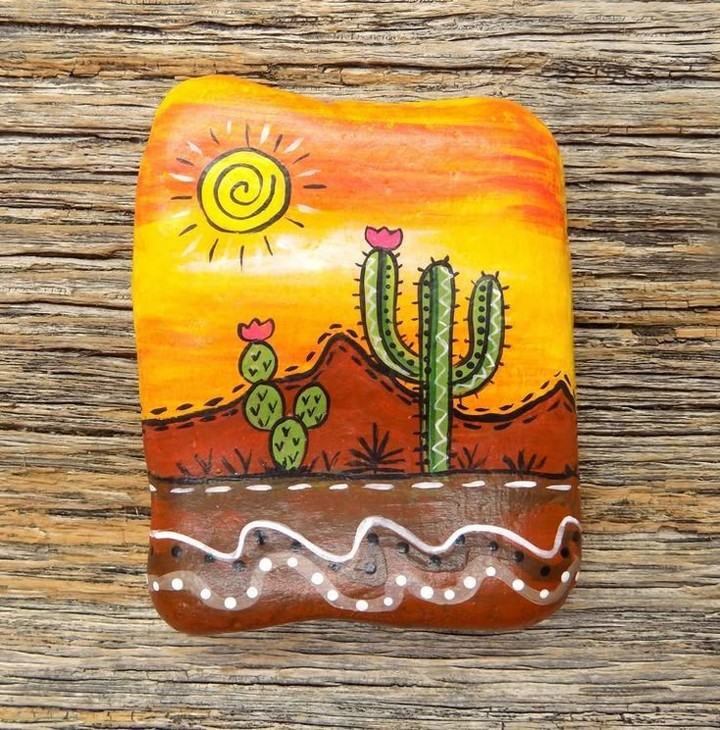
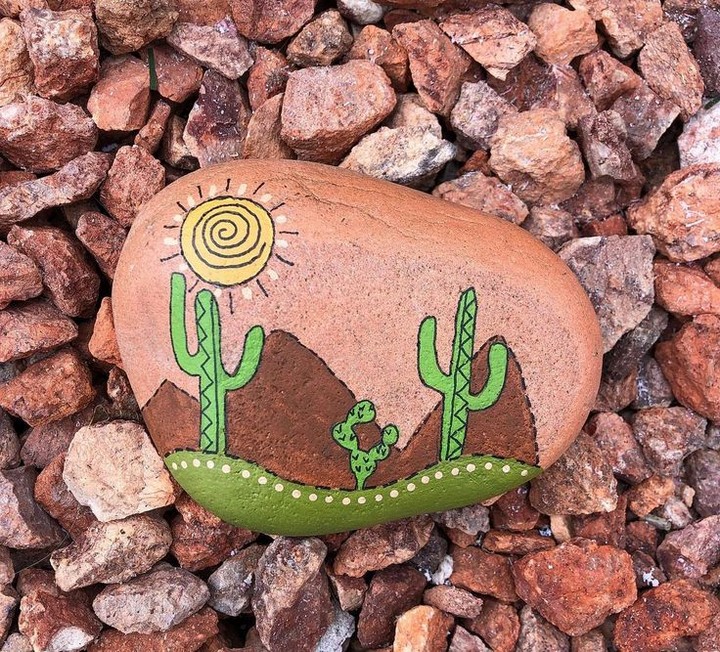
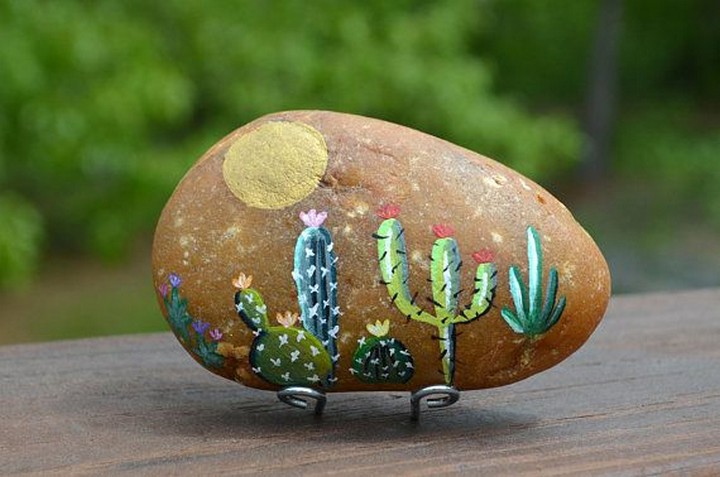
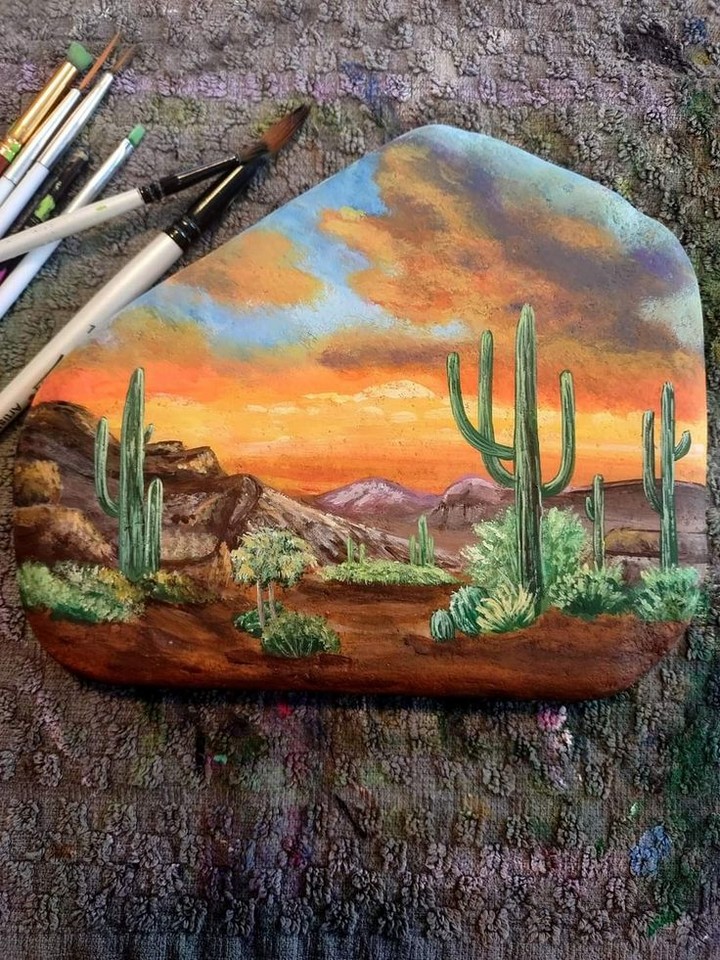
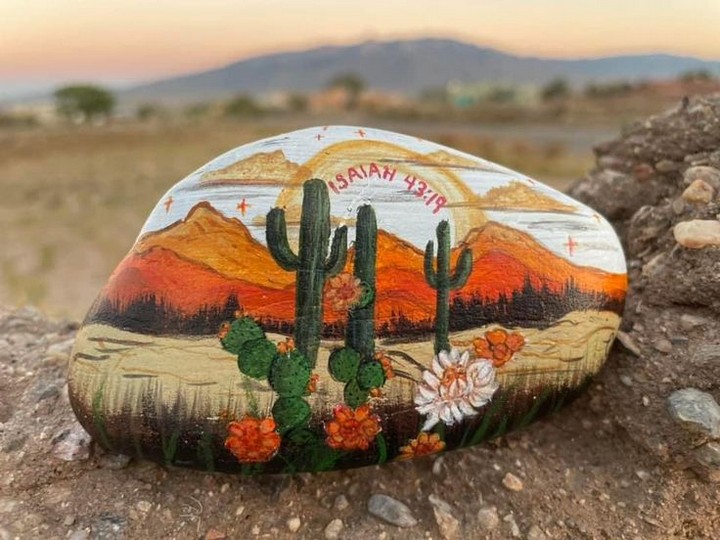
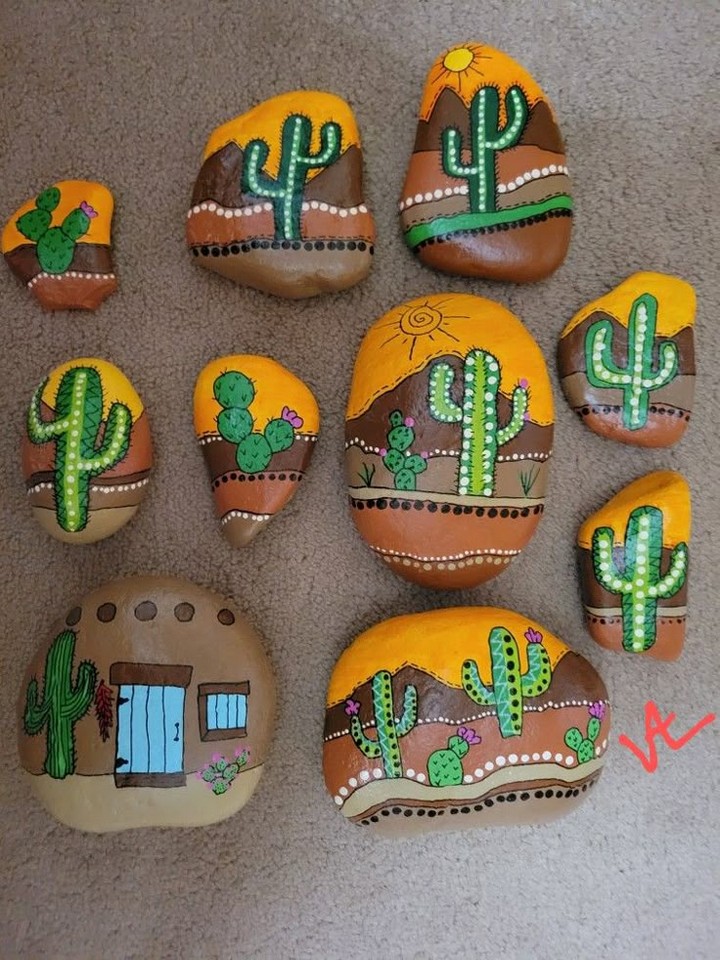
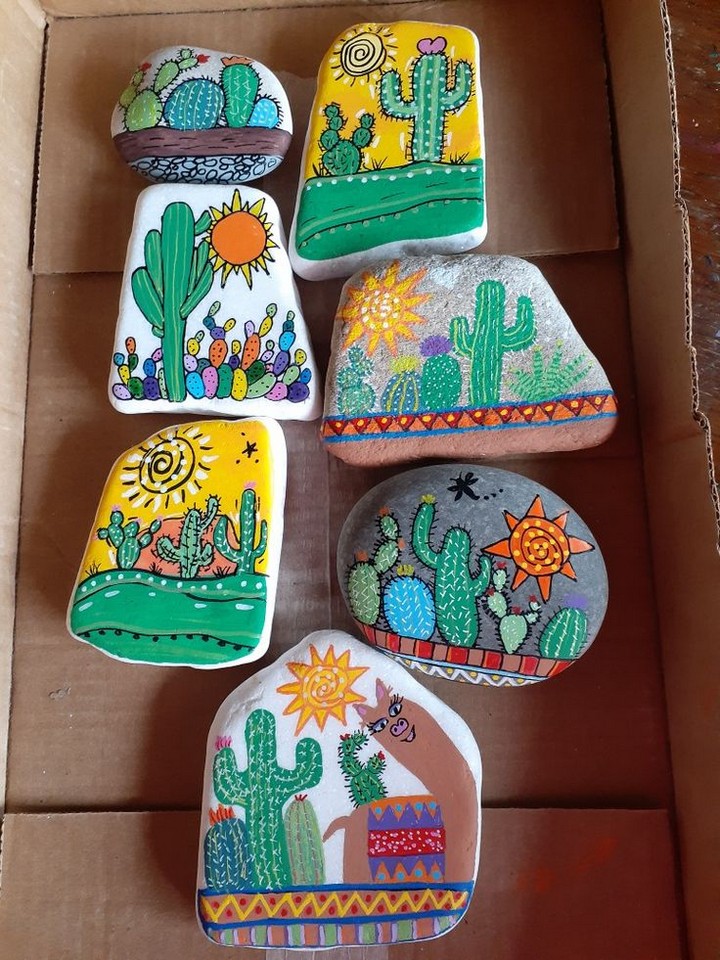
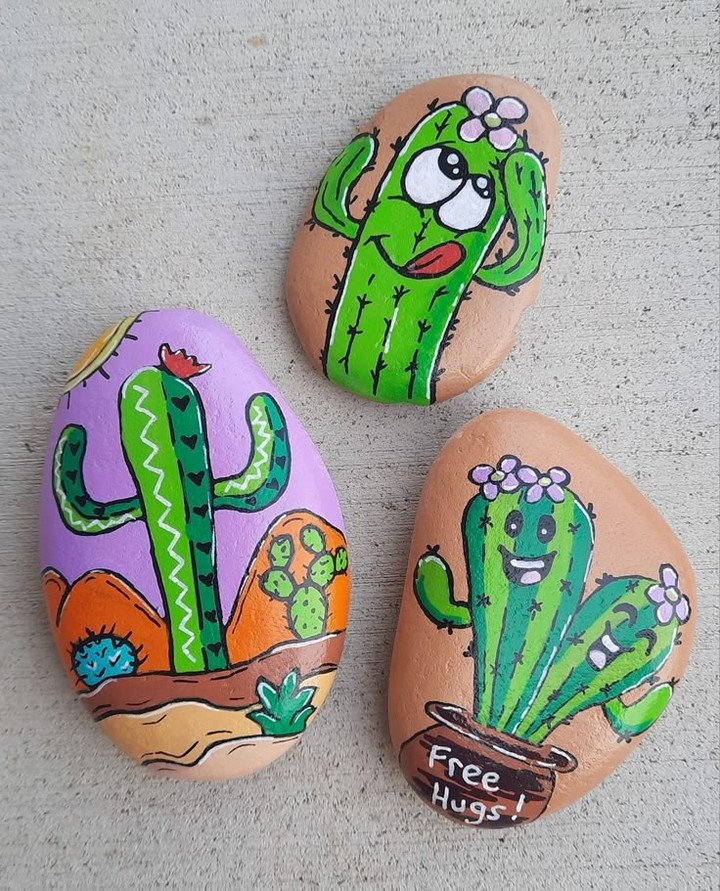
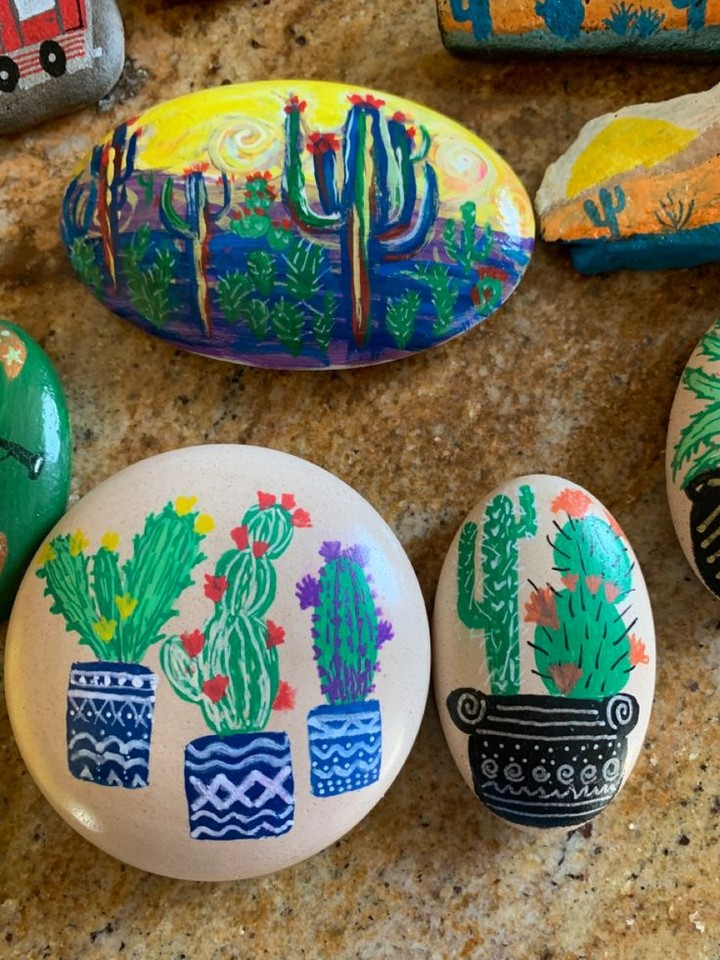
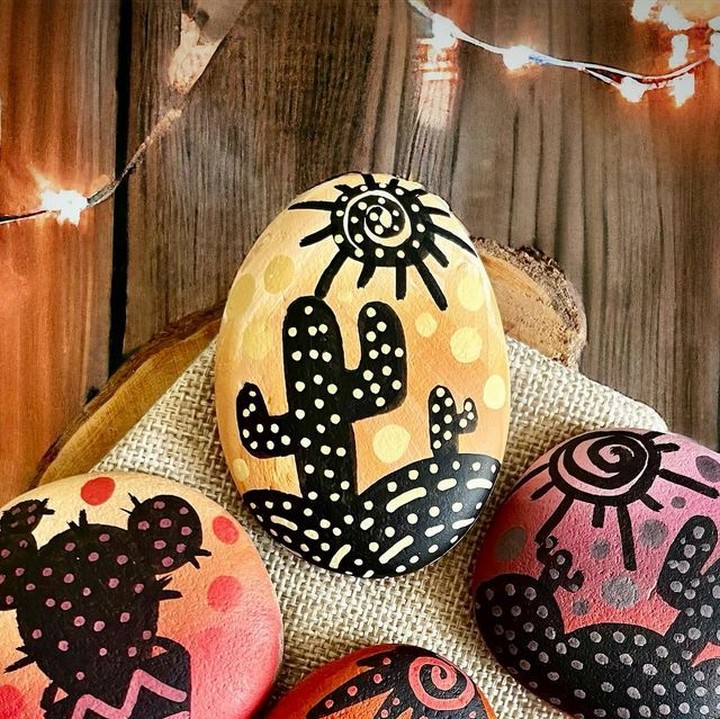
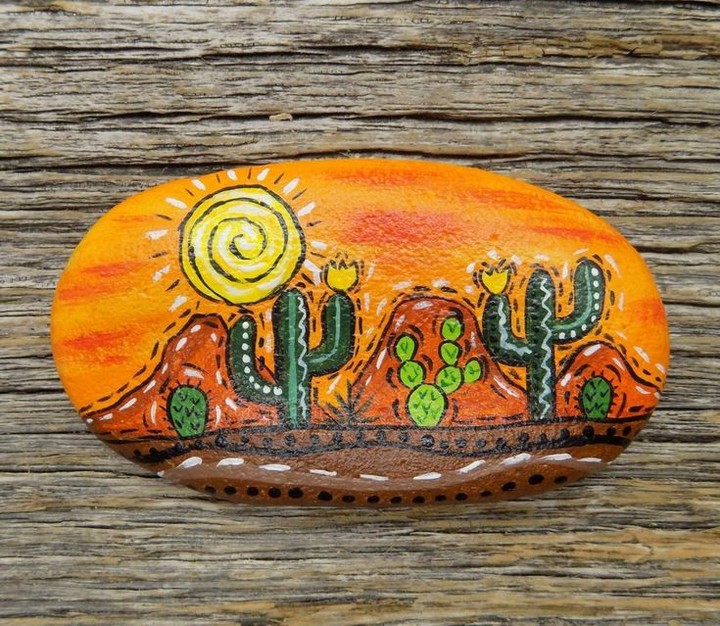
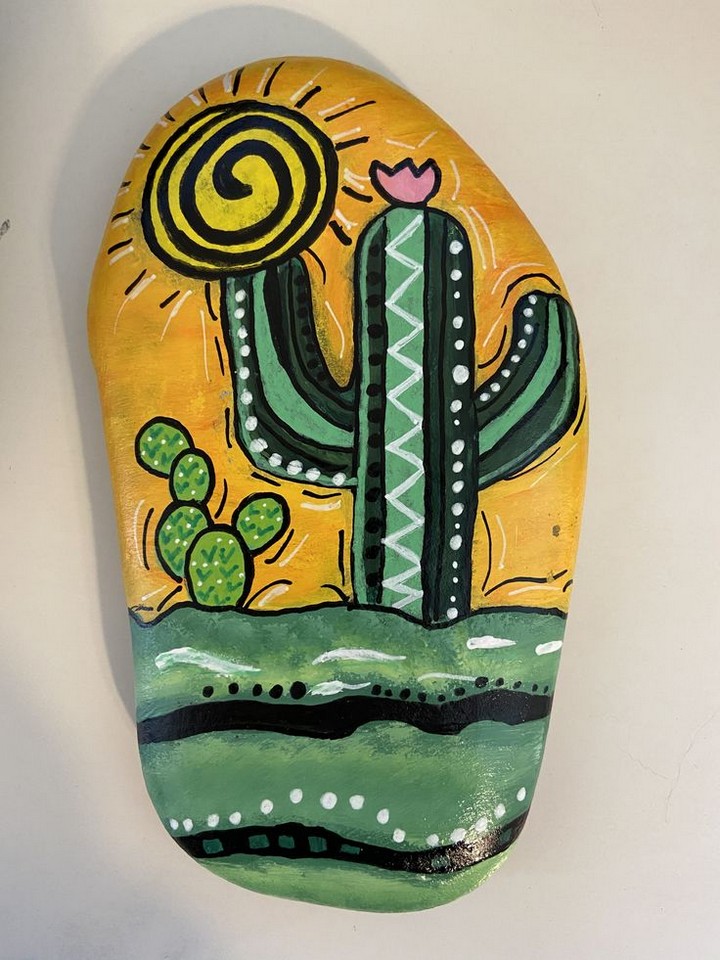
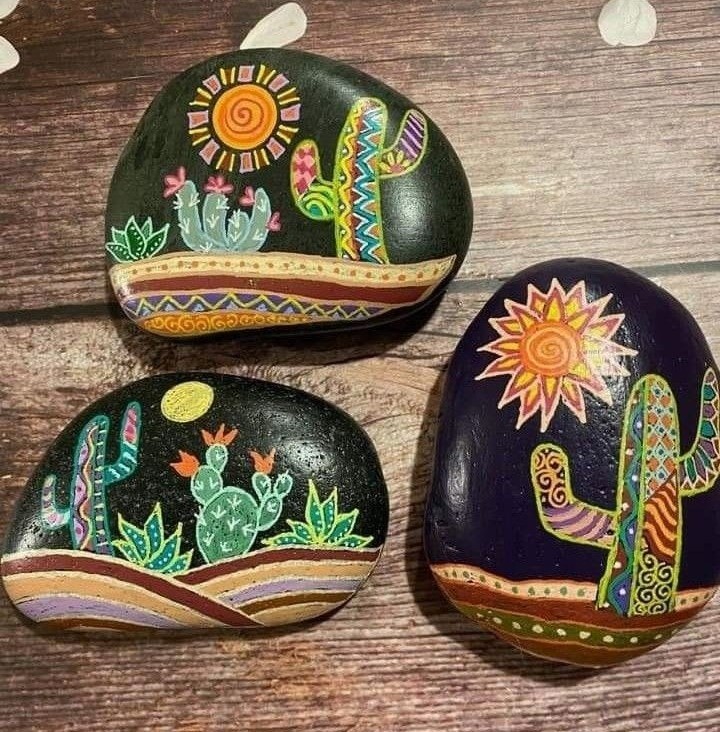
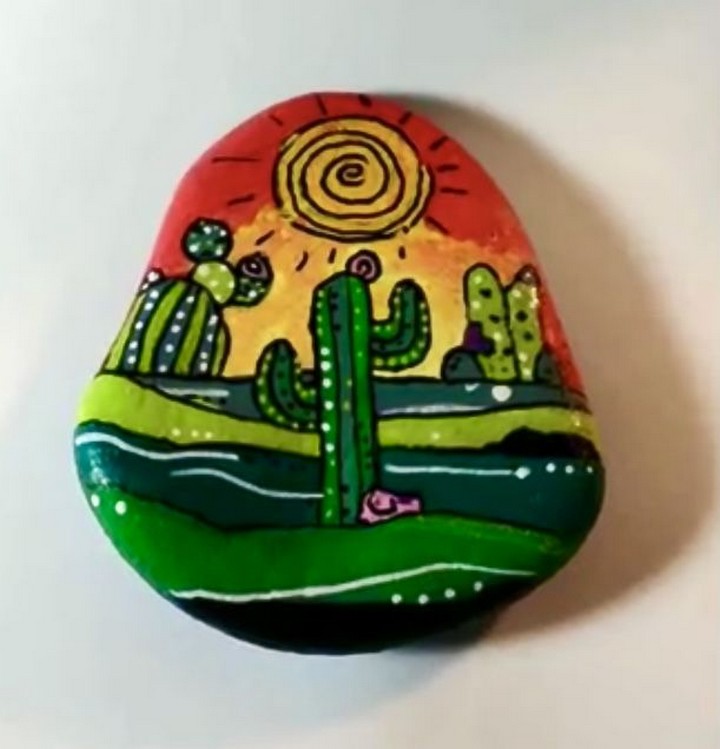
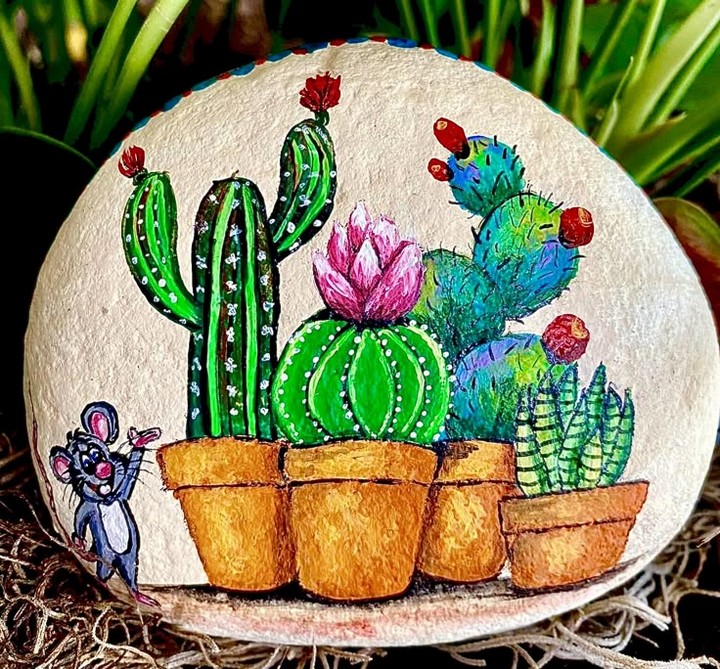
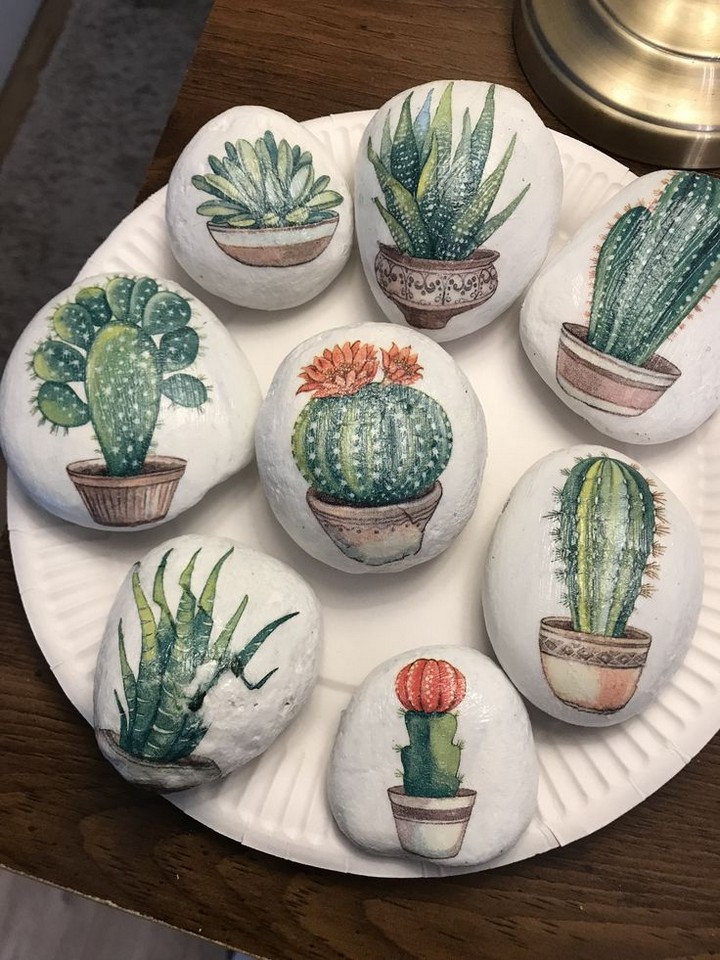
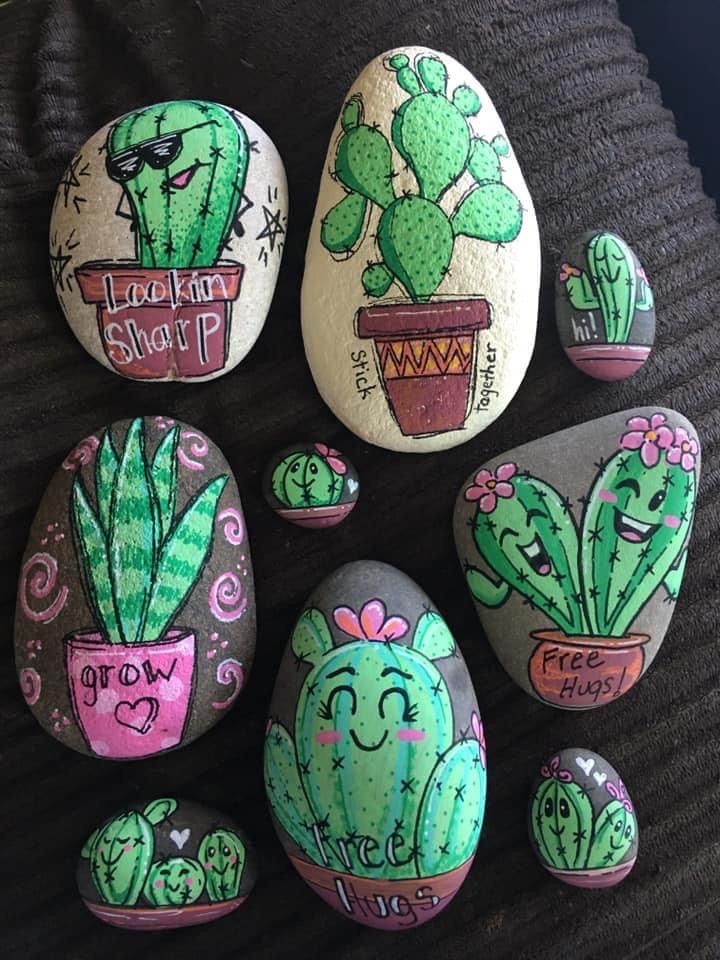
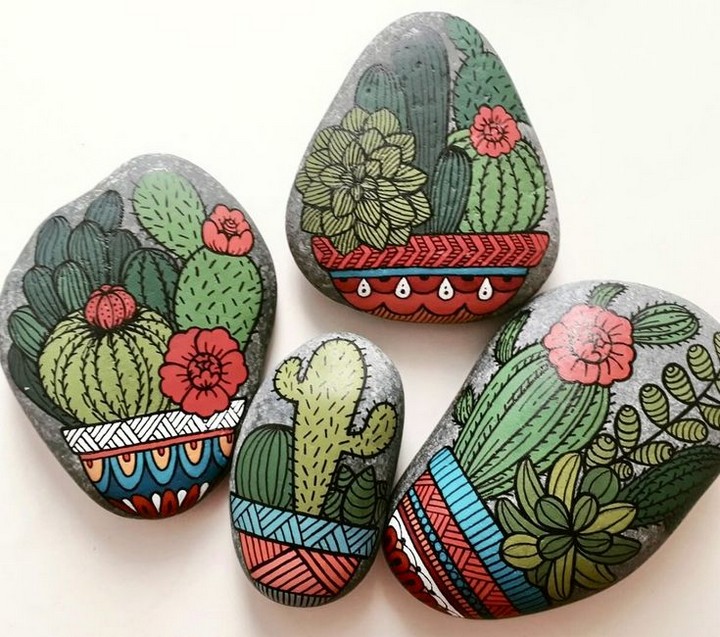
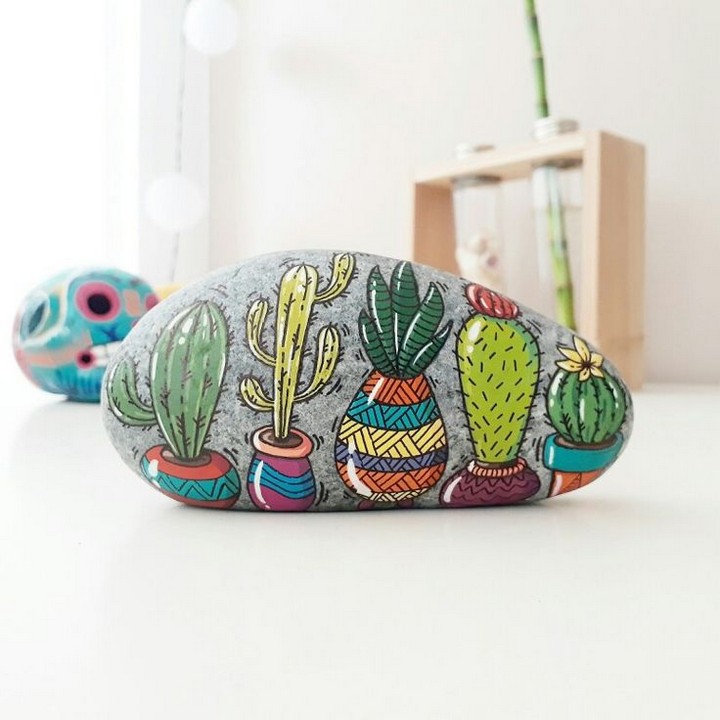
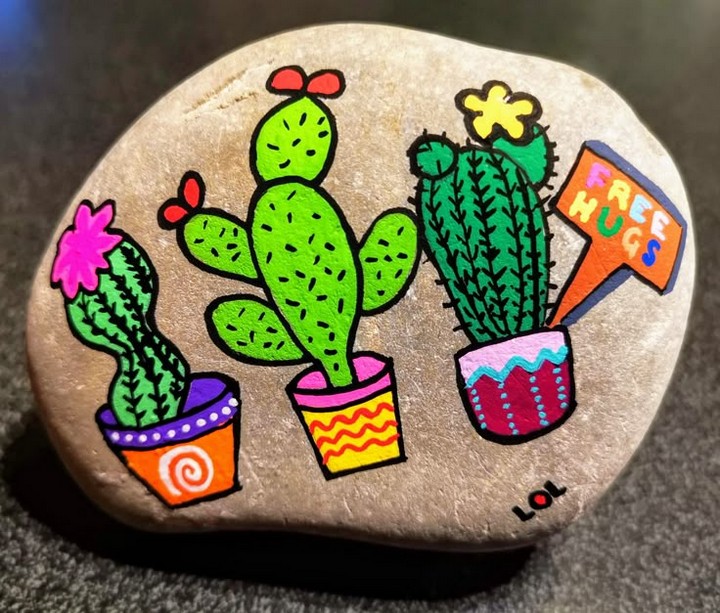
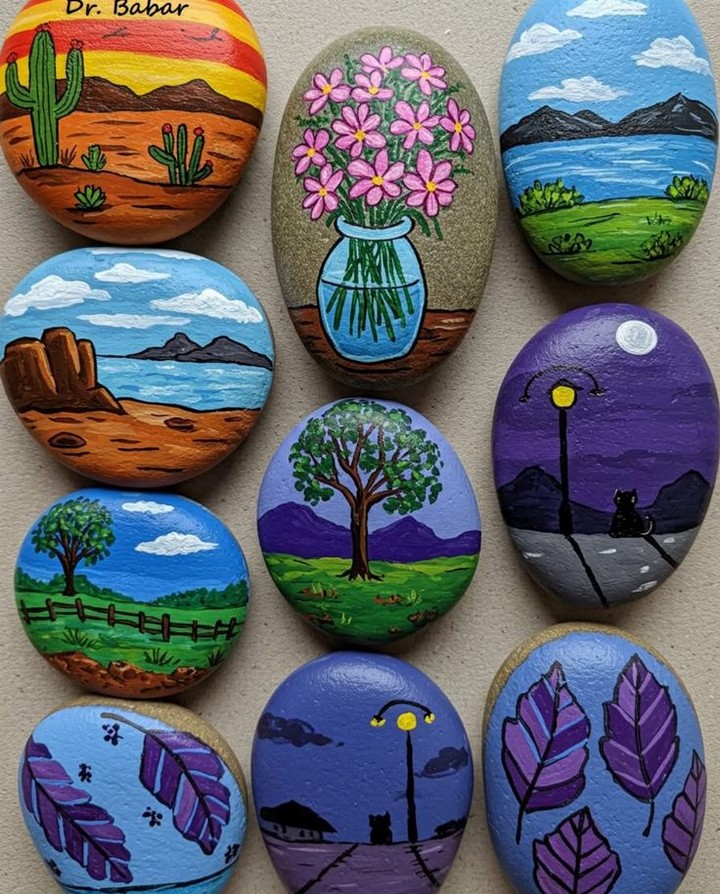
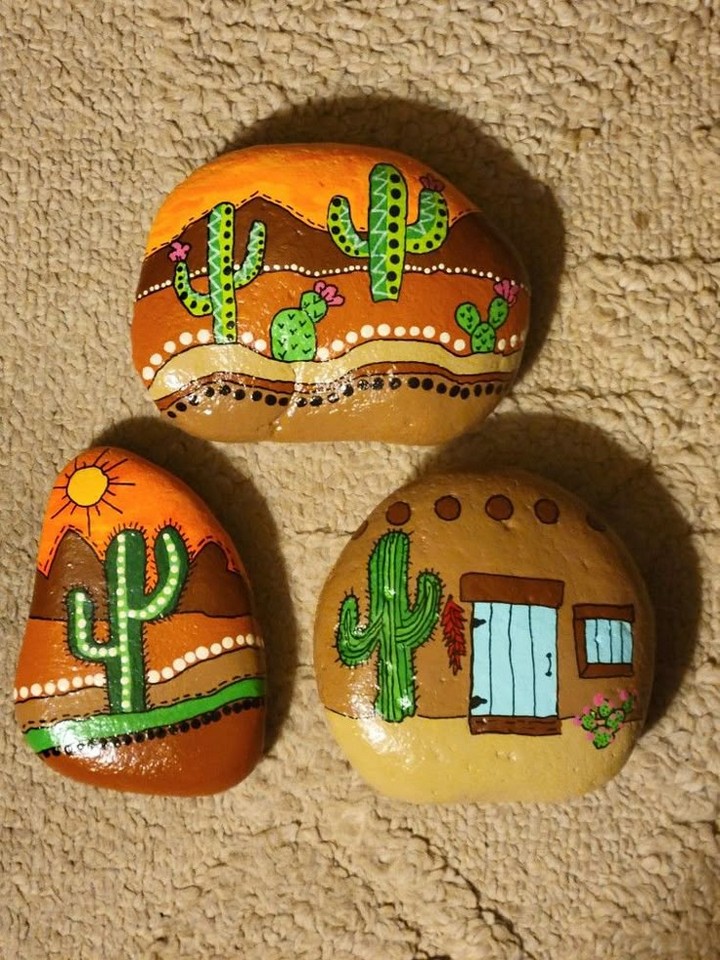
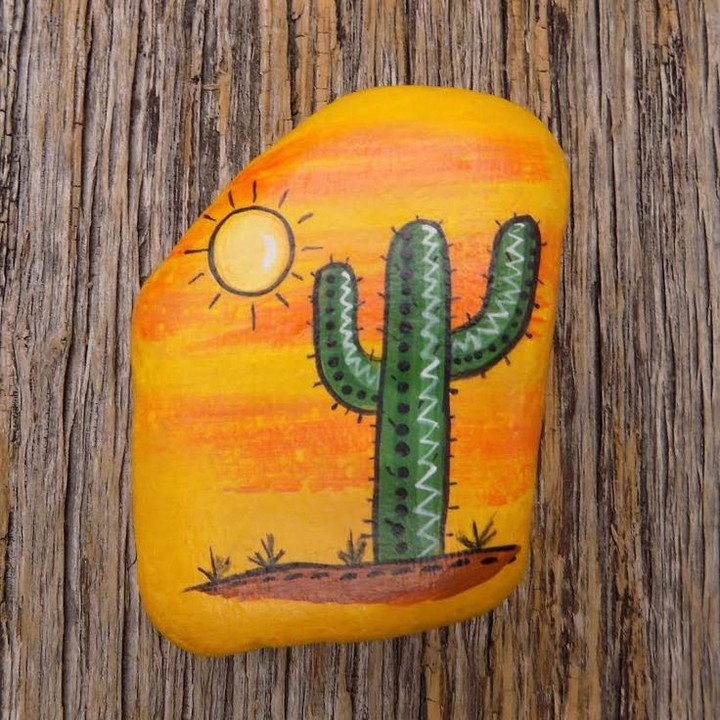
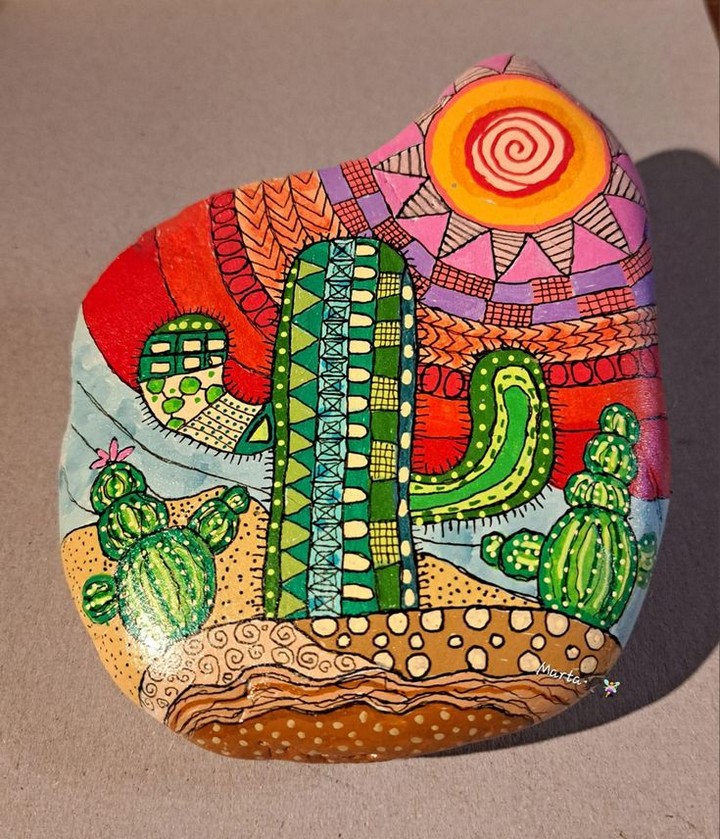
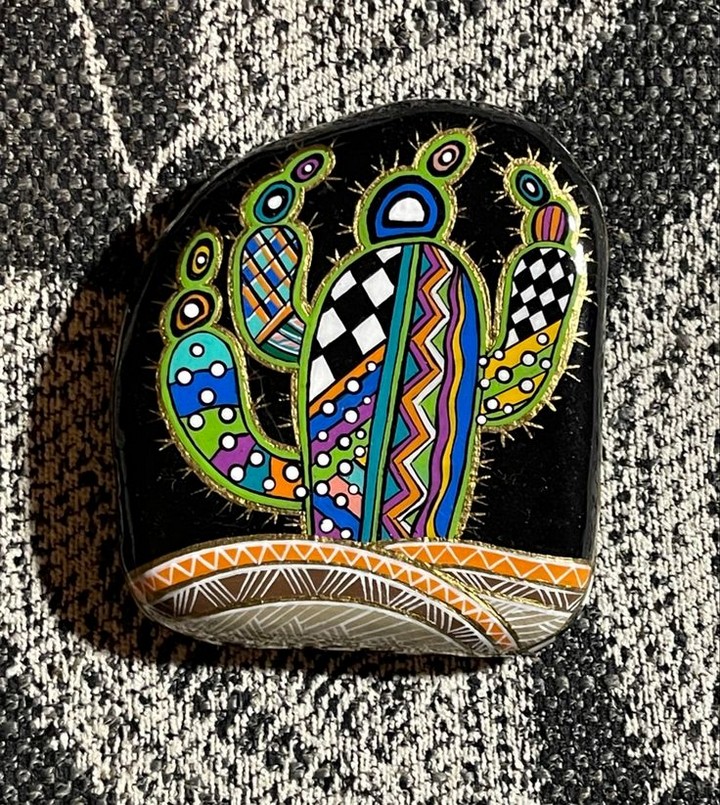
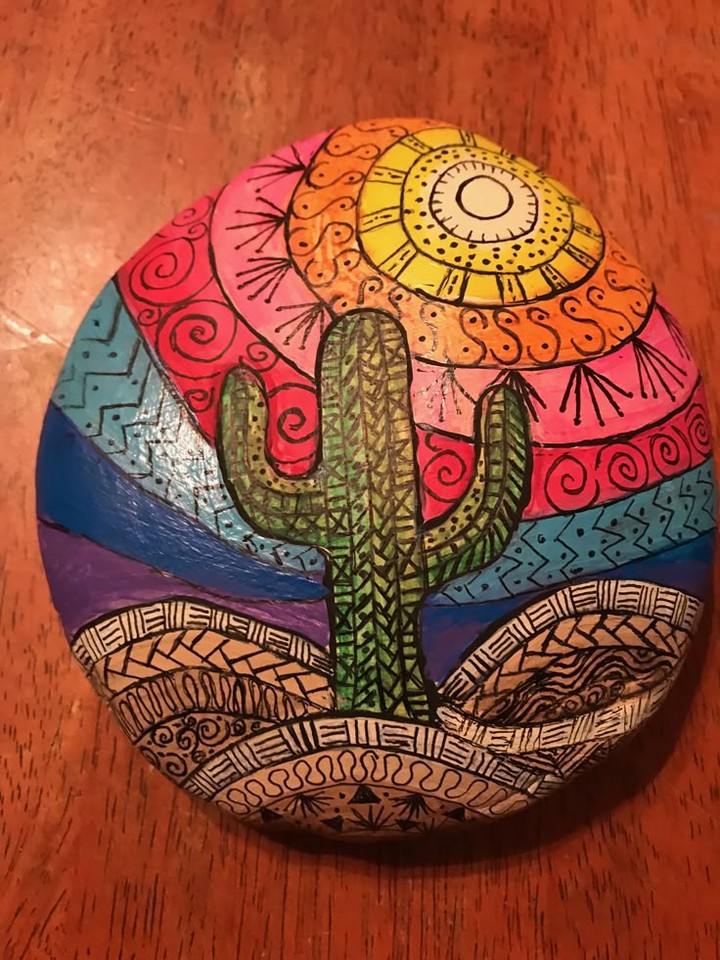
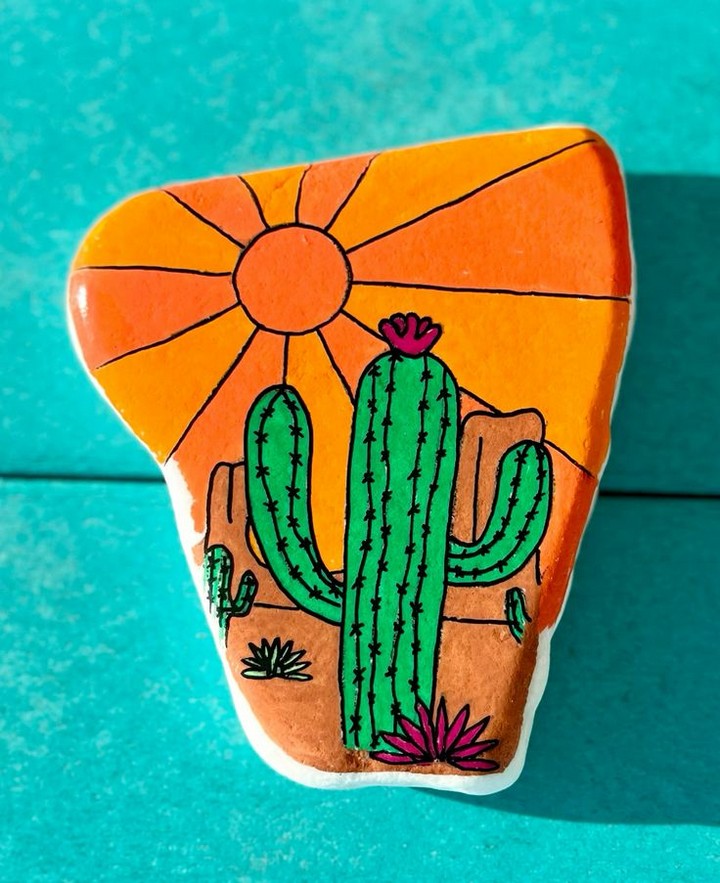
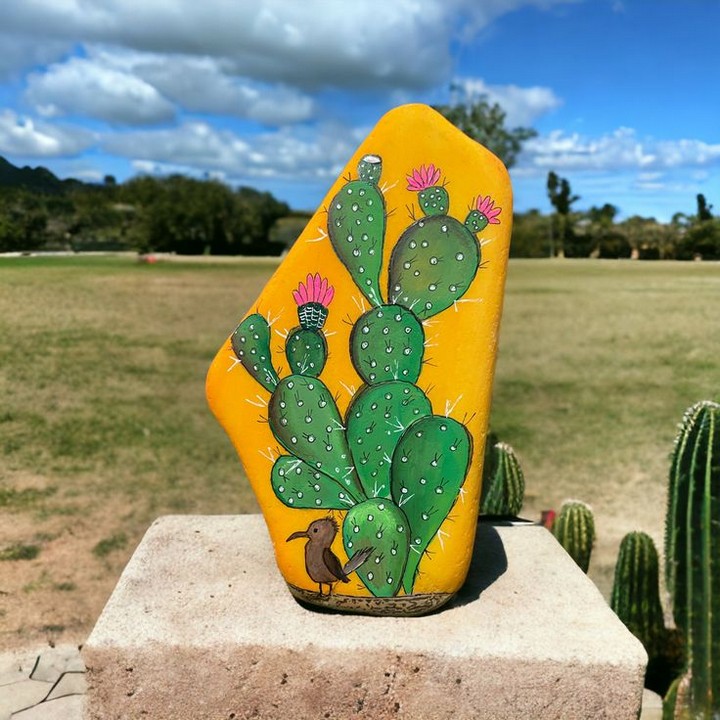
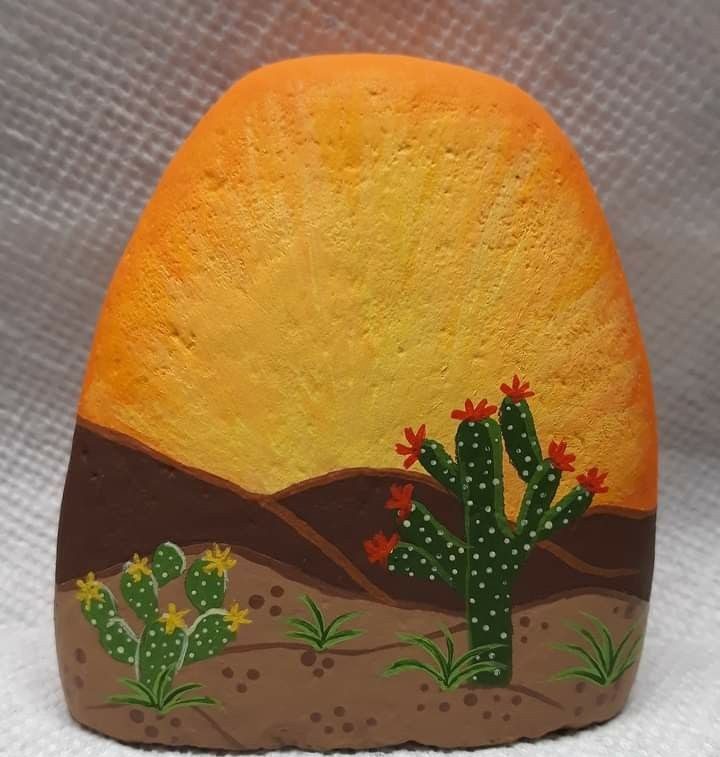
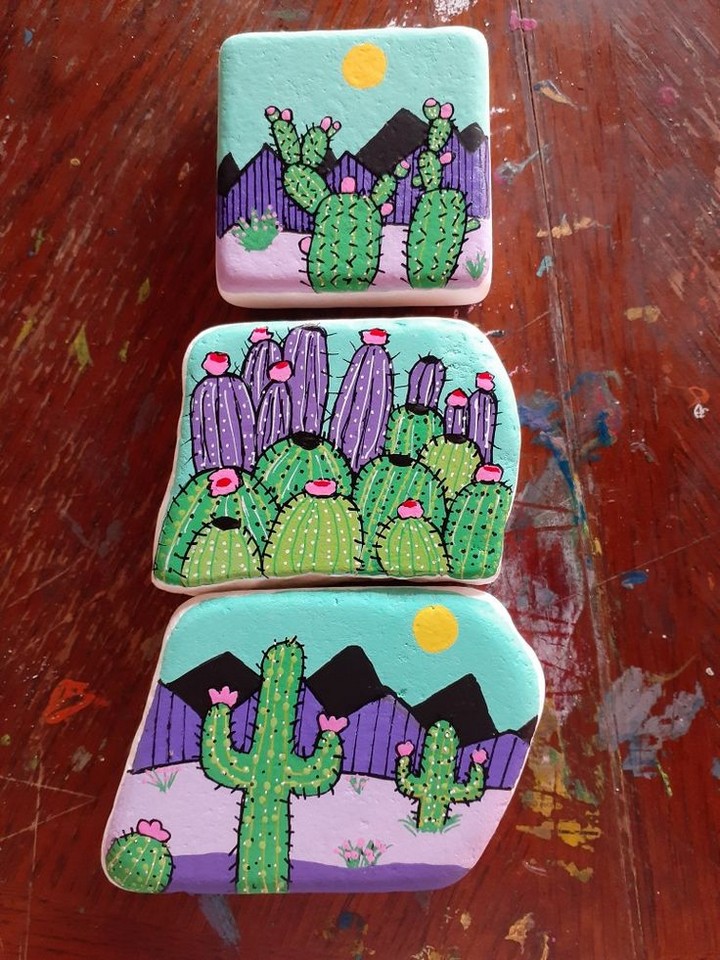
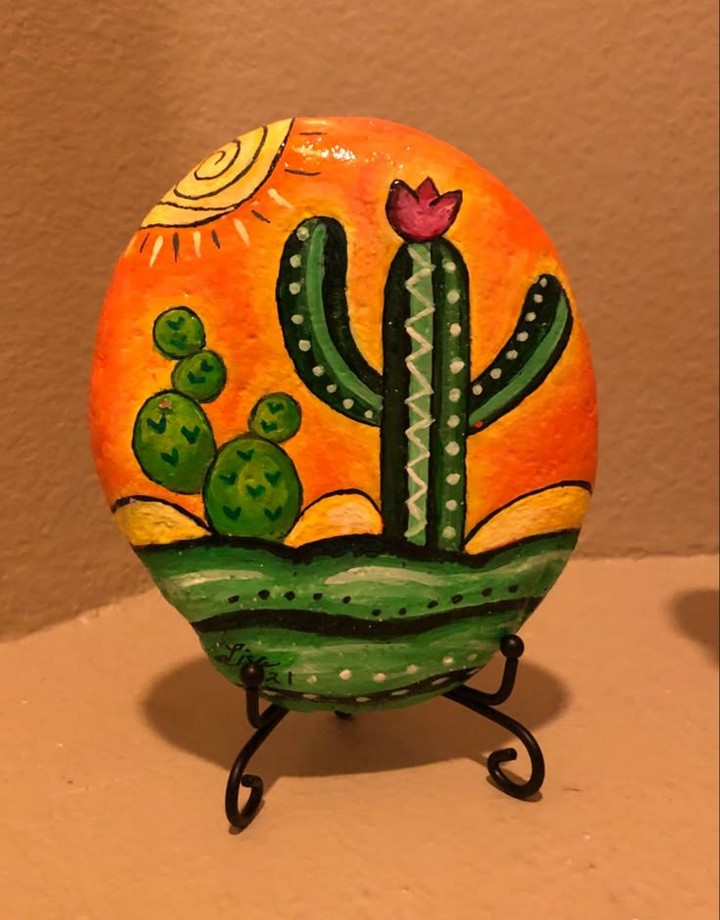
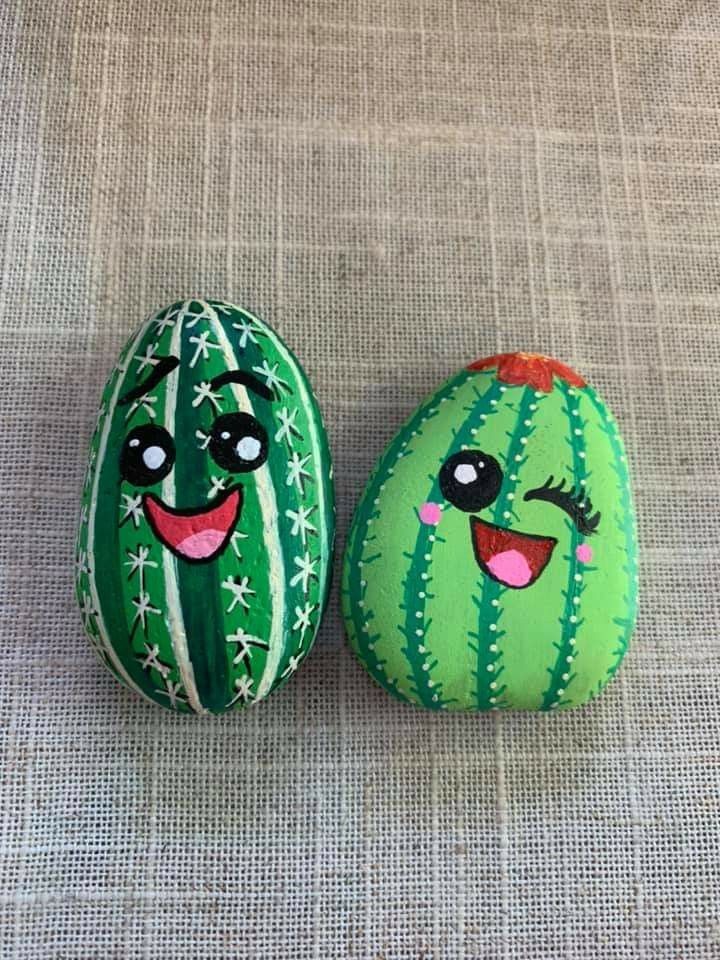
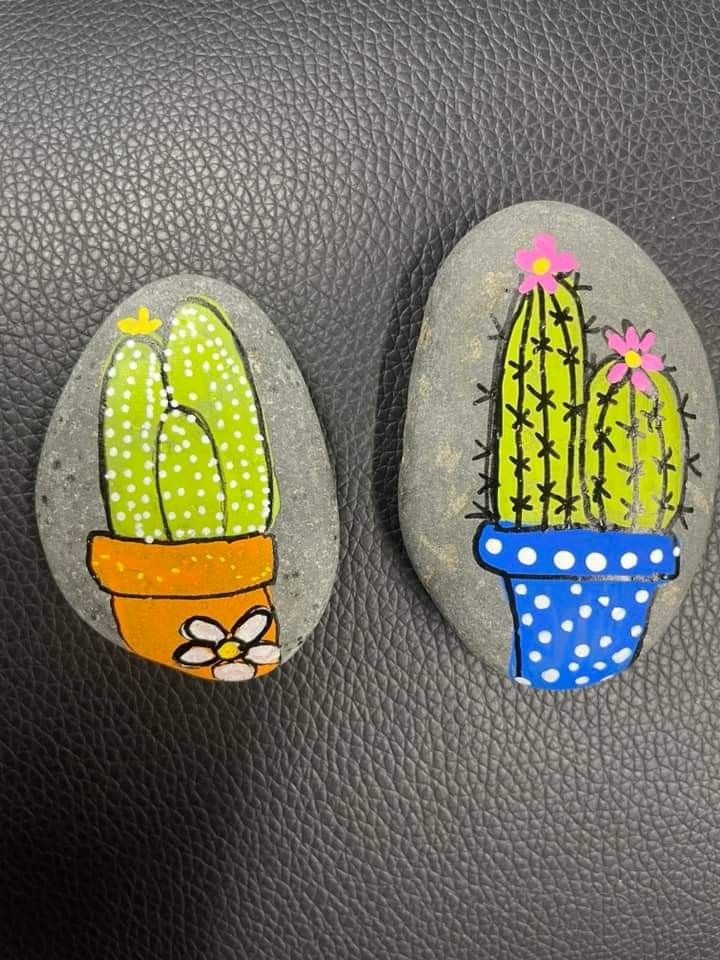
Rock painting has evolved from a simple children’s activity into a sophisticated art form that captivates creators of all ages. Among the countless themes available to rock painting enthusiasts, painted rock cactus designs have emerged as one of the most beloved and versatile options. These charming desert-inspired creations combine the natural beauty of stones with the iconic appeal of cacti, resulting in delightful decorative pieces that bring southwestern charm to any space.
The popularity of painted rock cactus art stems from its perfect balance of simplicity and creativity. Whether you’re a complete beginner looking for an easy entry into rock painting or an experienced artist seeking new inspiration, cactus-themed rocks offer endless possibilities for artistic expression while requiring minimal specialized skills or expensive materials.
Essential Materials for Rock Cactus Painting
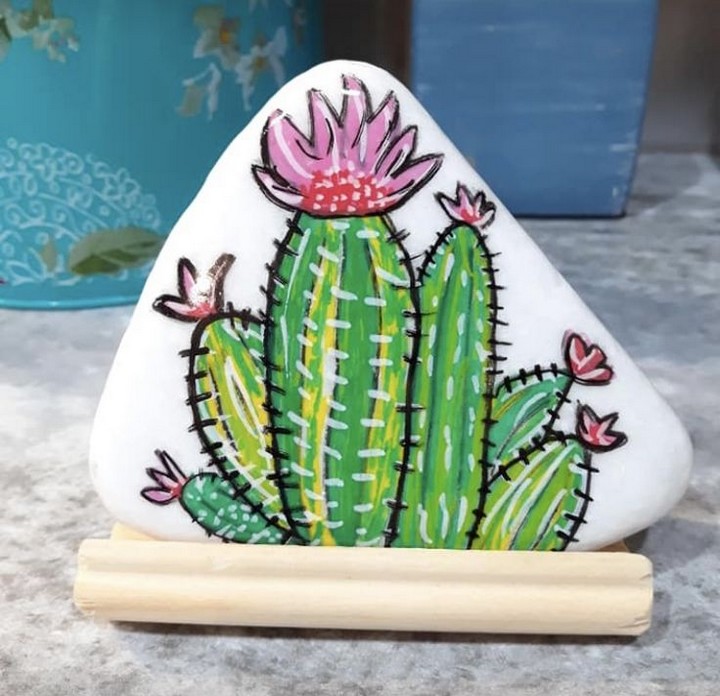
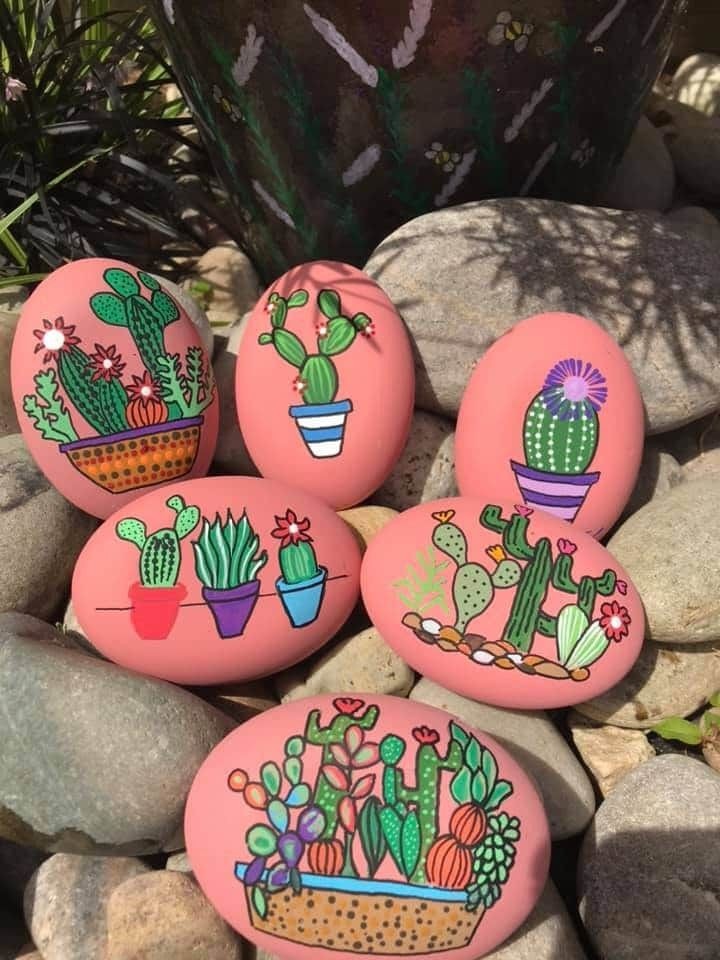
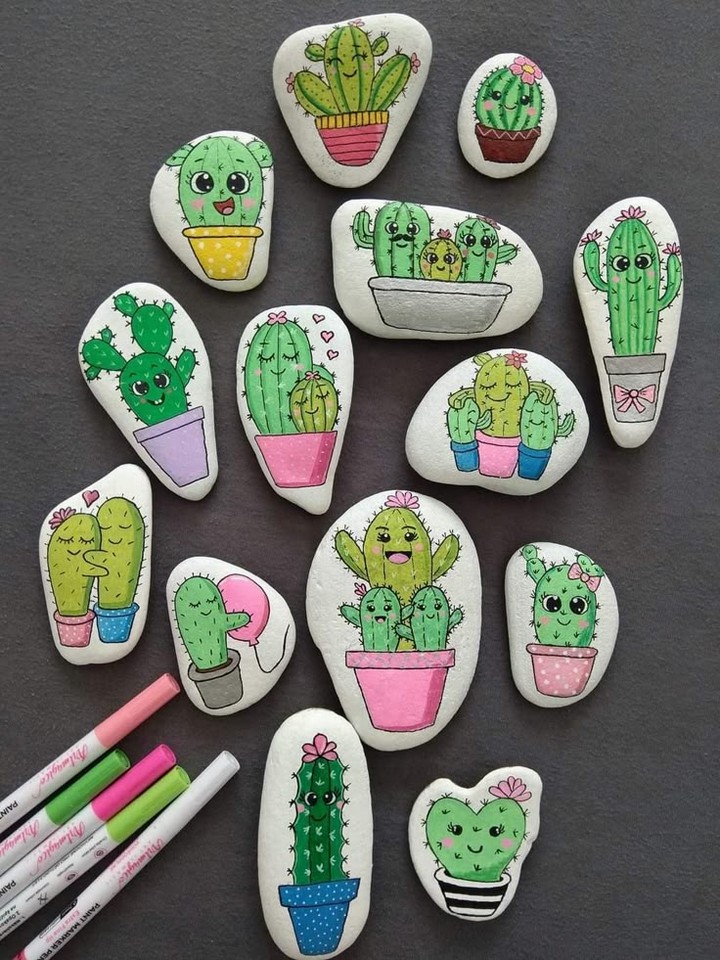
Creating beautiful painted rock cacti requires specific materials that ensure both artistic success and long-lasting results. The foundation of any great project starts with selecting appropriate stones. Look for rocks with smooth surfaces and shapes that naturally suggest cactus forms – oval or cylindrical stones work particularly well for barrel cacti, while tall, narrow rocks perfect for columnar varieties.
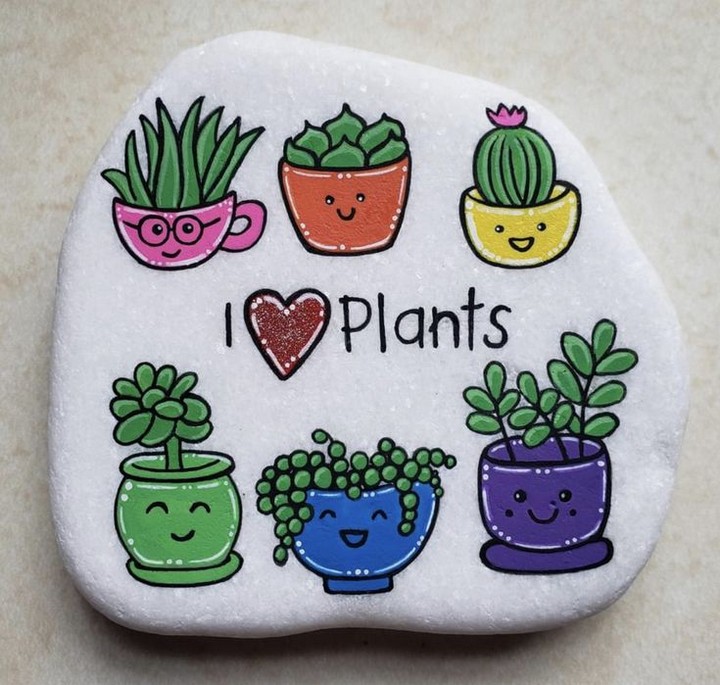
Quality acrylic paints form the heart of your color palette. Invest in artist-grade acrylics rather than craft paints for better coverage, color saturation, and durability. Essential colors include various shades of green (from sage to forest), earth tones for pots and desert backgrounds, and bright colors for flowers and decorative elements.
Brushes make a significant difference in your final results. Fine detail brushes (sizes 0-2) handle intricate spine work and small flowers, while flat brushes (sizes 4-8) efficiently cover larger areas. Liner brushes excel at creating the thin, precise lines that give cacti their characteristic spine patterns.
Sealers protect your finished artwork from weather, handling, and fading. Choose between matte, satin, or gloss finishes depending on your aesthetic preference. Outdoor projects require UV-resistant sealers, while indoor pieces can use standard acrylic sealers.
Additional tools enhance your creative possibilities. Toothpicks create perfect dots for spine clusters, while sea sponges add realistic texture to rock surfaces. Fine-tip permanent markers work well for detailed line work, and stencils help achieve consistent patterns across multiple rocks.
Step-by-Step Painting Process
The journey from blank stone to beautiful painted cactus begins with careful preparation. Clean your selected rocks thoroughly with soap and water, removing all dirt, oils, and debris. Allow stones to dry completely before beginning any painting work. This preparation step, though simple, significantly impacts your final results by ensuring proper paint adhesion and color vibrancy.
Sketch your design lightly with pencil before committing to paint. This planning stage allows you to adjust proportions, placement, and design elements without wasting materials. Consider the rock’s natural shape and work with its contours rather than fighting against them. Often, the most successful painted rocks enhance and celebrate the stone’s original form.
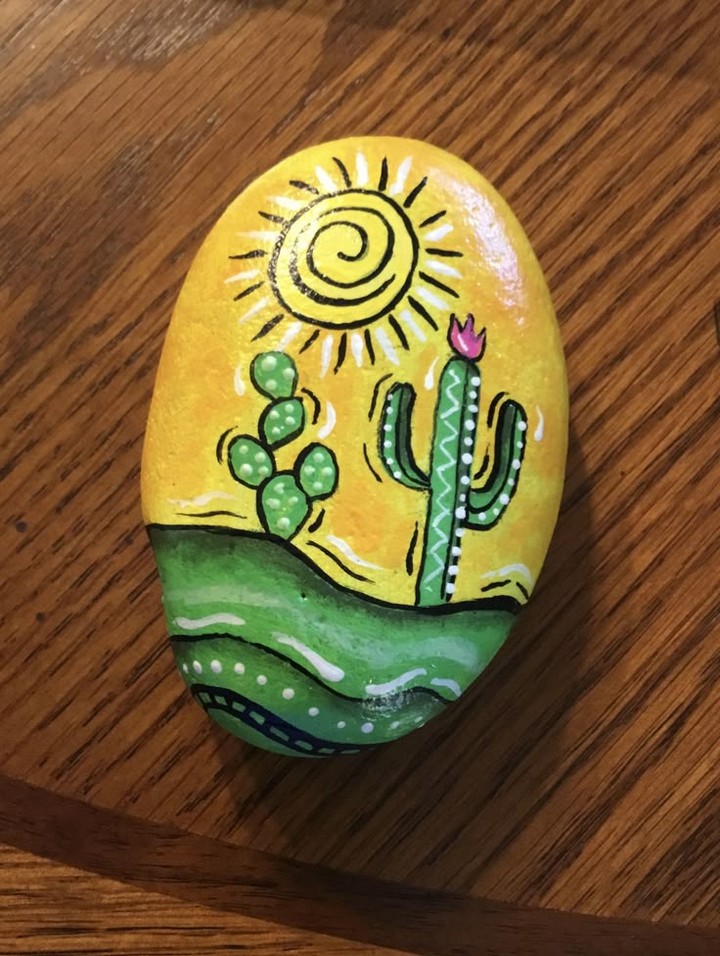
Begin painting with base colors, working from light to dark. Apply thin, even coats rather than attempting to achieve full coverage in a single application. Multiple thin layers create smoother, more professional-looking results than thick, uneven applications. Allow each layer to dry completely before adding the next patience during this stage prevents muddy colors and maintains crisp edges.
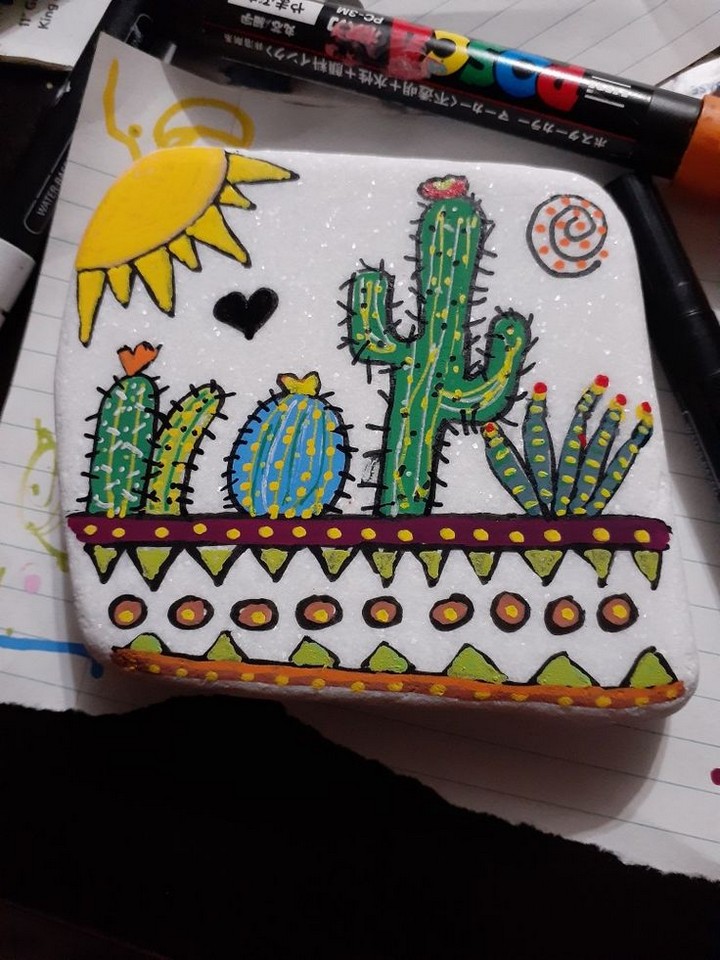
Add details gradually, building complexity through successive layers. Start with larger elements like main body colors and major shape definitions, then progress to medium details such as spine patterns and shading. Finish with fine details like individual spines, flower centers, and highlight accents. This systematic approach ensures balanced compositions and prevents overwhelming smaller details.
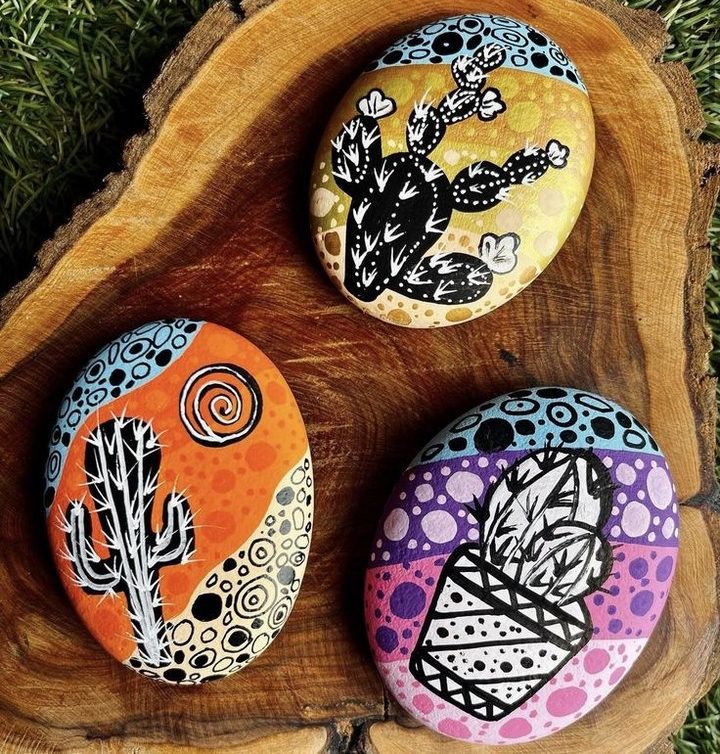
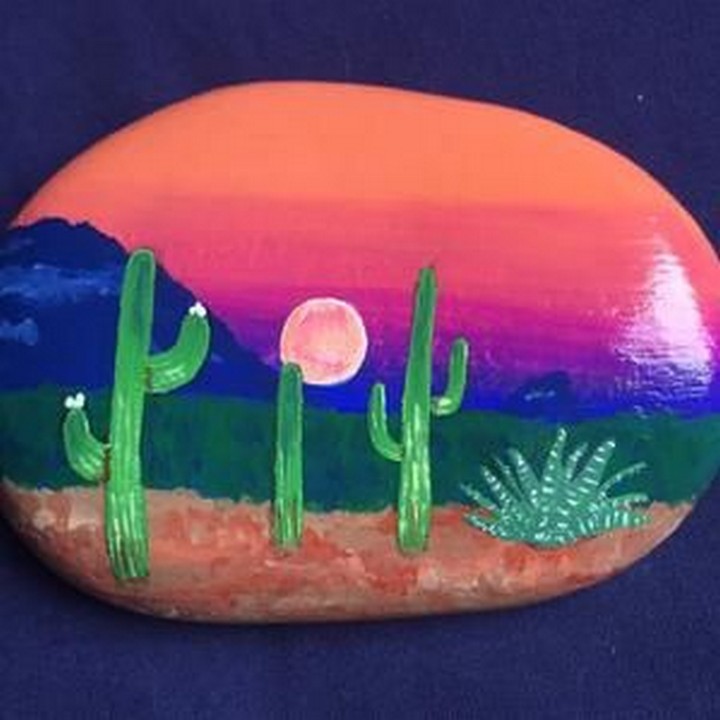
Color Theory for Desert Themes
Understanding color relationships enhances your painted cactus creations significantly. Desert palettes traditionally feature warm, earthy tones that reflect the natural environment. However, creative interpretation allows for expanded color choices that maintain visual harmony while adding personal expression.
Base green colors for cacti can range from blue-greens suggesting cool morning light to yellow-greens representing intense midday sun. Adding small amounts of brown, gray, or purple to green creates more sophisticated, natural-looking hues than straight-from-the-tube colors. These subtle modifications reflect the complex colors found in real desert plants.
Complementary colors create visual interest and make elements pop within your compositions. Orange flowers against blue-green cacti, purple shadows against yellow-green plants, and red blooms against standard green bodies all demonstrate effective complementary relationships. Use these high-contrast combinations sparingly for maximum impact.
Earth tones ground your compositions and provide realistic environmental context. Browns, tans, siennas, and ochres work beautifully for painted pots, desert floors, and background elements. These neutral colors allow your more vibrant cactus colors to shine while maintaining overall visual balance.
Advanced Techniques and Professional Tips
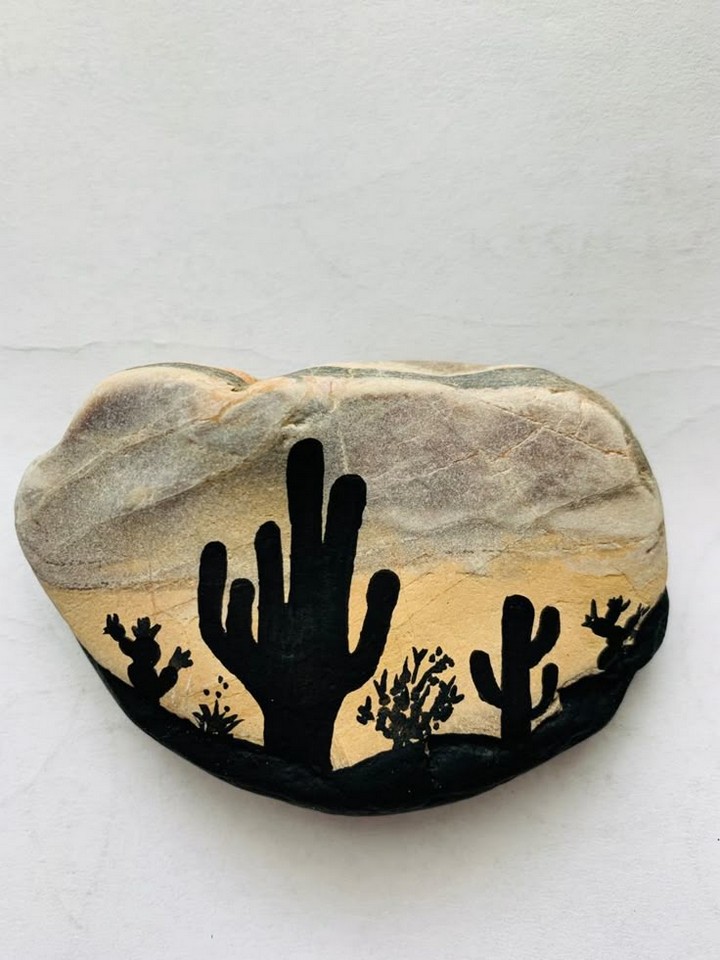
Texture creation separates amateur rock paintings from professional-quality artwork. Several techniques effectively simulate cactus skin and spine patterns. Dry brushing with lighter colors over darker base coats creates natural-looking surface variations. Stippling with sea sponges adds organic texture that mimics the irregular surfaces of real cacti.
Layering transparent glazes builds color depth and richness impossible to achieve with single color applications. Mix small amounts of paint with glazing medium to create transparent layers that modify underlying colors without obscuring them completely. This technique particularly excels at creating realistic lighting effects and atmospheric depth.
Highlight and shadow placement creates three-dimensional illusions on flat rock surfaces. Study real cacti or quality photographs to understand how light interacts with cylindrical and spherical forms. Generally, highlights appear on surfaces facing the light source, while shadows gather in recessed areas and on surfaces facing away from light.
Fine detail work requires steady hands and appropriate tools. Rest your painting hand on your non-painting hand or a stable surface to minimize tremors. Use paint consistency similar to heavy cream – thin enough to flow smoothly but thick enough to maintain opacity. Clean brushes frequently to maintain sharp, precise lines.
Ready to bring the desert to life with your own painted rock cacti? Grab your supplies and start creating these 42 unique designs today! Share your favorite design in the comments below, or tag us on social media to showcase your creations. For more craft inspiration, explore our other DIY guides or join our creative community newsletter for exclusive tips and ideas. Let’s keep the creativity blooming! 🌵🎨✨