Creating a pumpkin door hanger is a charming and festive way to decorate your front door for fall. Here’s how you can make one:
Materials You’ll Need
- Wooden pumpkin cutout or a foam pumpkin shape (readily available at craft stores)
- Acrylic paint in fall colors (orange, brown, green)
- Paintbrushes
- Craft wire or ribbon for hanging
- Hot glue gun and glue sticks
- Decorative accents (optional, e.g., faux leaves, berries, twine, burlap)
Steps
1. Paint the Pumpkin
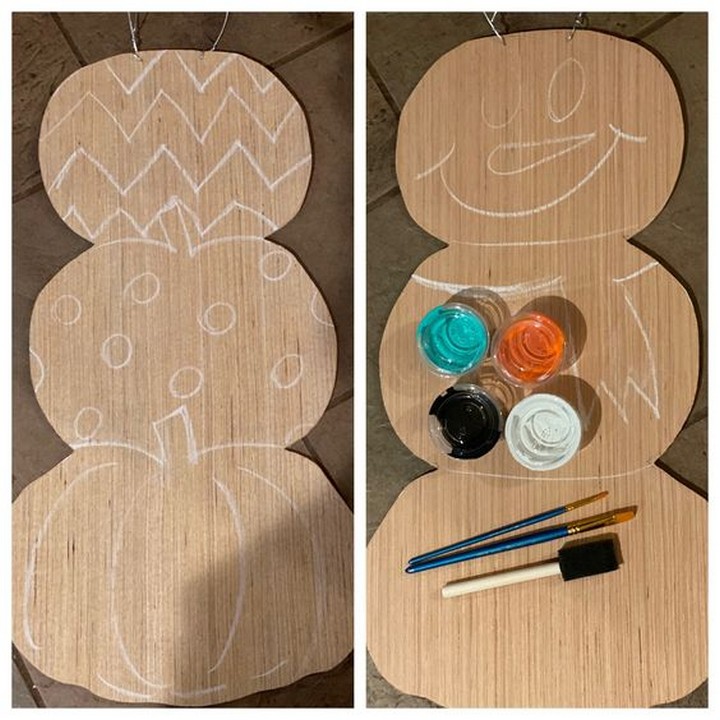
Start by painting the wooden or foam pumpkin shape. You can paint it entirely in orange or go for a more rustic look by painting it with patches of different shades of orange and brown. Allow the paint to dry completely.
2. Add Details

- Paint a brown stem at the top of the pumpkin.
- Use green paint to add a curly vine that connects the stem to the pumpkin body.
3. Decorate
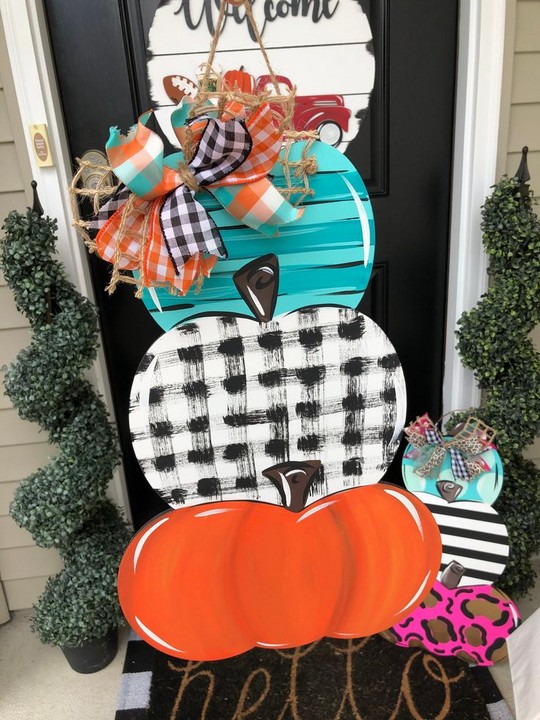
This is where you can get creative. You can add decorative elements like faux leaves, berries, or burlap ribbon to the pumpkin to give it more texture and dimension. Use hot glue to attach these decorations securely.
4. Attach a Hanger
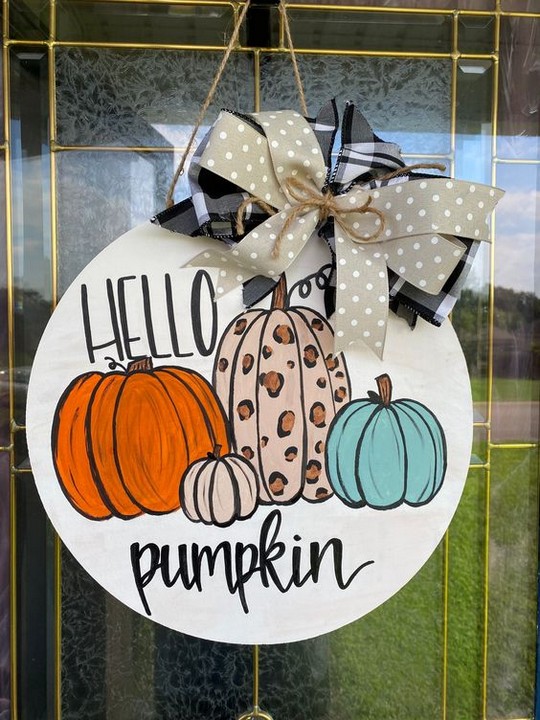
Decide how you want to hang your pumpkin. You can use craft wire, ribbon, or twine. If you’re using craft wire, create a loop at one end for hanging and secure it to the back of the pumpkin with hot glue. If you’re using ribbon or twine, thread it through a small hole drilled near the top of the pumpkin and tie a knot.
5. Final Touches
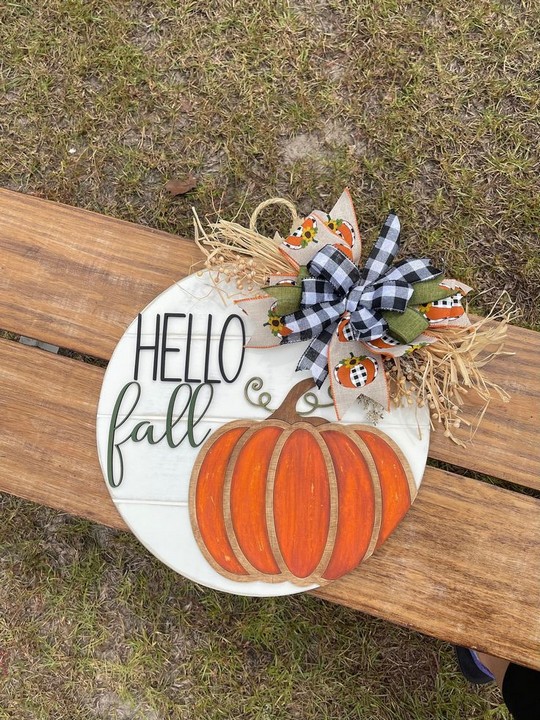
Examine your pumpkin door hanger for any loose elements or uneven paint. Make any necessary touch-ups.
6. Hang It Up
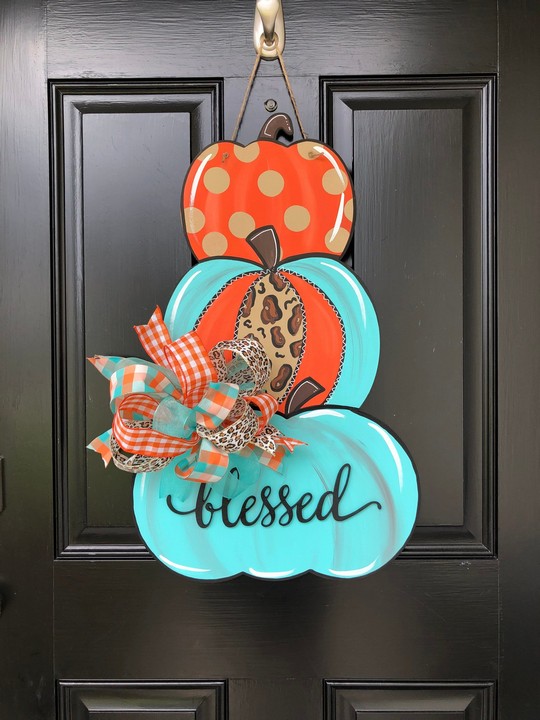
Finally, hang your pumpkin door hanger on your front door. Make sure it’s securely fastened and centered for the best visual impact.
Your homemade pumpkin door hanger will add a delightful touch of fall charm to your front door and make your home feel warm and inviting. Feel free to customize it further with your own unique touches and colors to match your personal style.


