Painting pumpkins is a fun and creative alternative to traditional carving. It’s a great DIY project for all ages and skill levels. Here are some steps to get you started with DIY pumpkin painting:
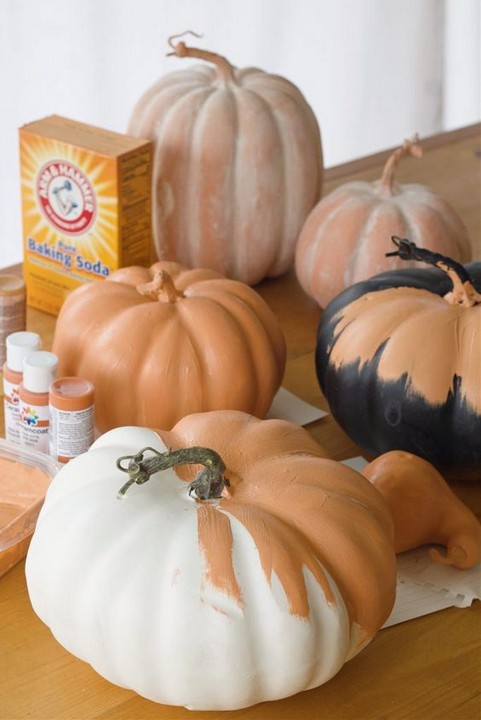
Materials You’ll Need :
1. Pumpkins (real or artificial)
2. Acrylic paint in various colors
3. Paintbrushes in different sizes
4. Palette or disposable plate for mixing colors
5. Water and paper towels for cleaning brushes
6. Pencil for sketching designs (optional)
7. Painter’s tape (optional for creating clean lines)
8. Sealant (optional) to protect your design
Steps :
1. Select Your Pumpkin
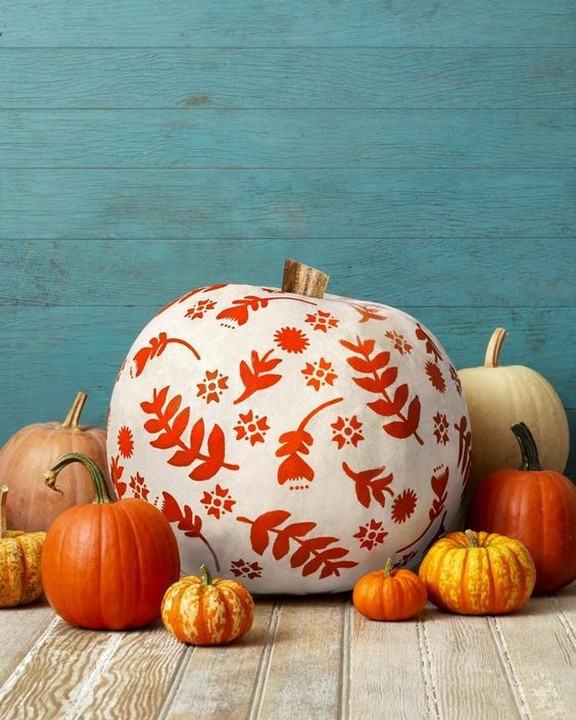
Choose a pumpkin that is clean and dry. You can use real pumpkins or artificial ones, depending on your preference.
2. Sketch Your Design (Optional)
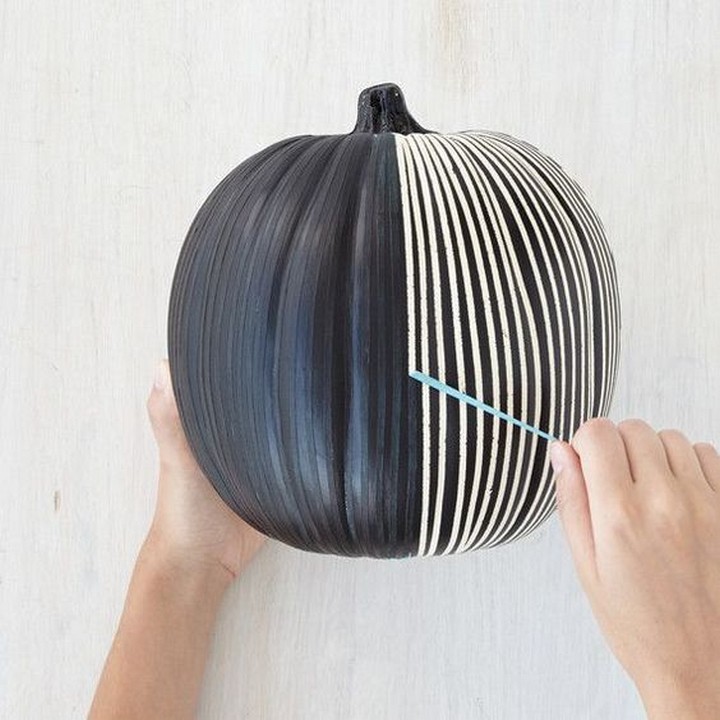
If you have a specific design in mind, you can lightly sketch it on the pumpkin with a pencil. This step is optional, and you can also paint freehand if you prefer.
3. Prepare Your Workspace
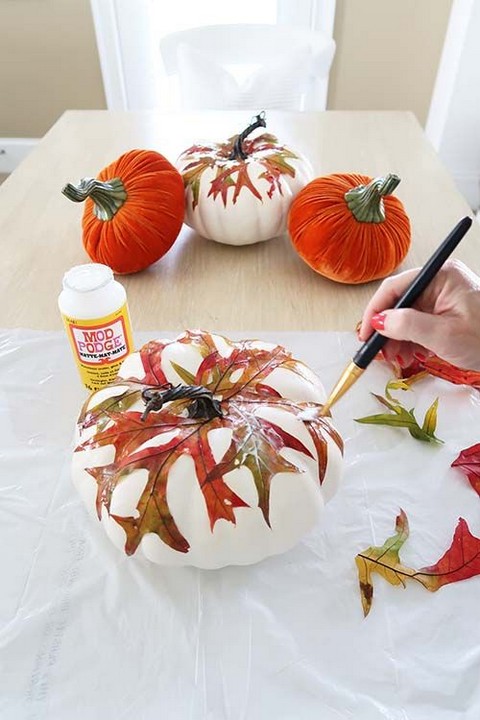
Cover your work area with newspaper or a plastic tablecloth to protect it from paint splatters. Have all your materials within easy reach.
4. Prime the Pumpkin (Optional)
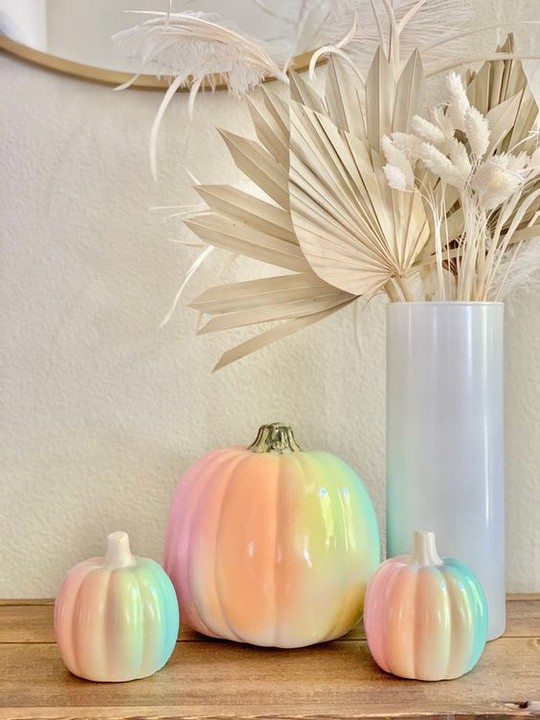
If you want to paint on a clean, white canvas, you can apply a coat of white acrylic paint as a primer. This step is not necessary but can help your colors appear more vibrant.
5. Paint Your Base Coat
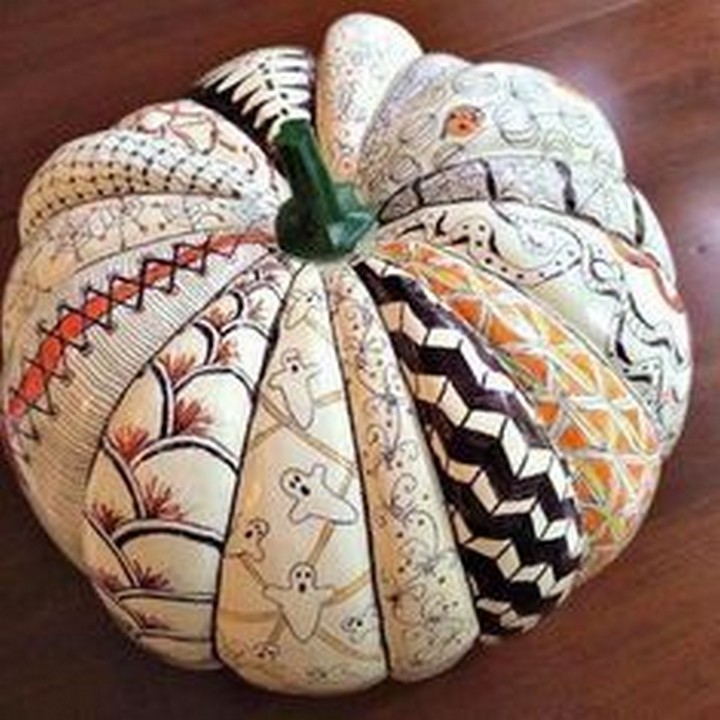
Apply your chosen base color to the pumpkin. You might need to apply multiple coats for even coverage, allowing each coat to dry before adding another.
6. Paint Your Design
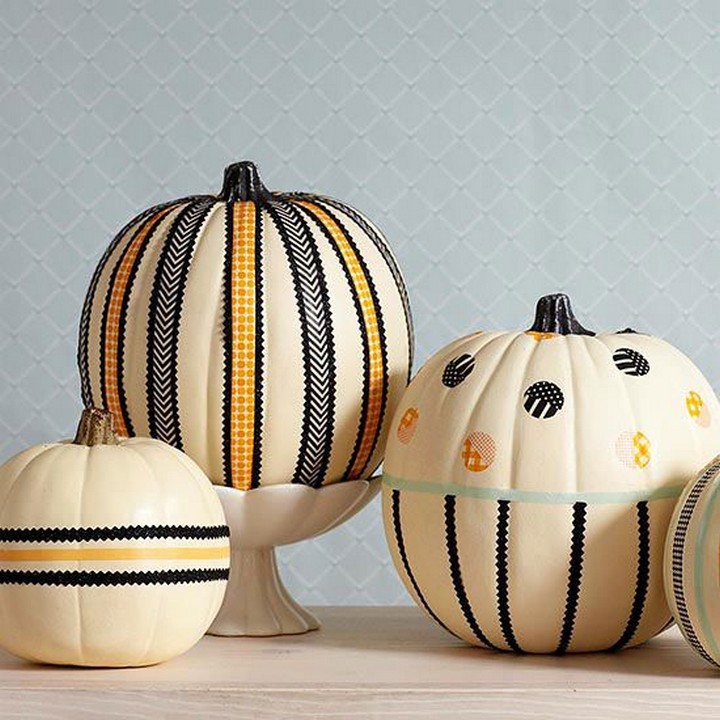
Use a variety of paint colors to create your design. This can be anything from simple patterns and abstract shapes to intricate illustrations or characters. Take your time and let each color dry before moving on to the next.
7. Layer and Blend Colors
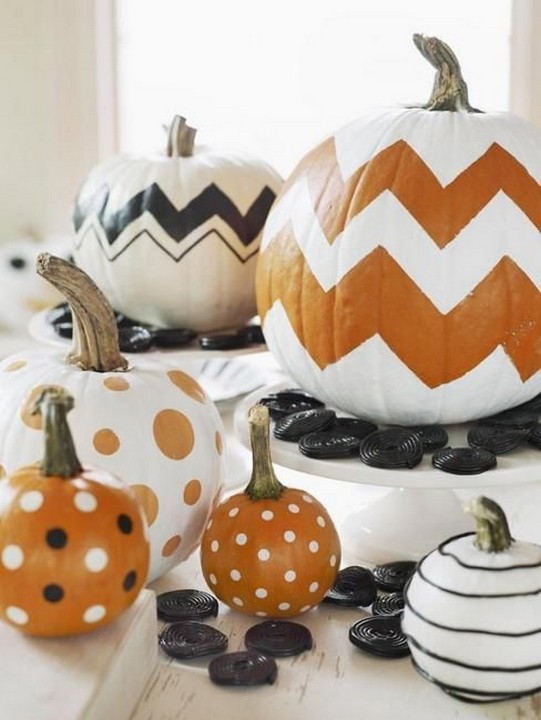
You can create depth and texture by layering and blending colors. Start with the lightest colors and gradually add darker ones. Use a dry brush or a damp sponge to blend colors together.
8. Use Painter’s Tape for Clean Lines (Optional)
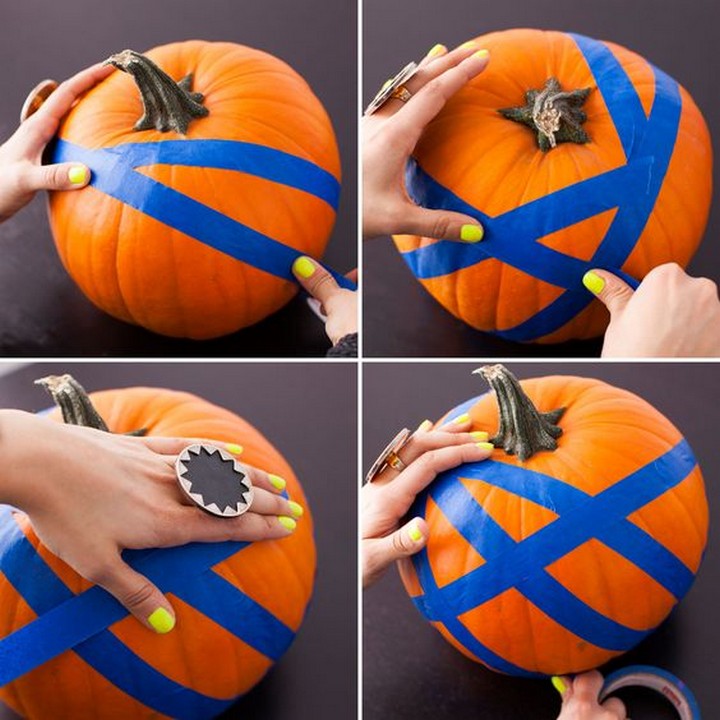
If you want to create crisp lines or sections, you can use painter’s tape. Apply the tape to the pumpkin before painting, and then remove it once the paint is dry to reveal clean lines.
9. Add Details
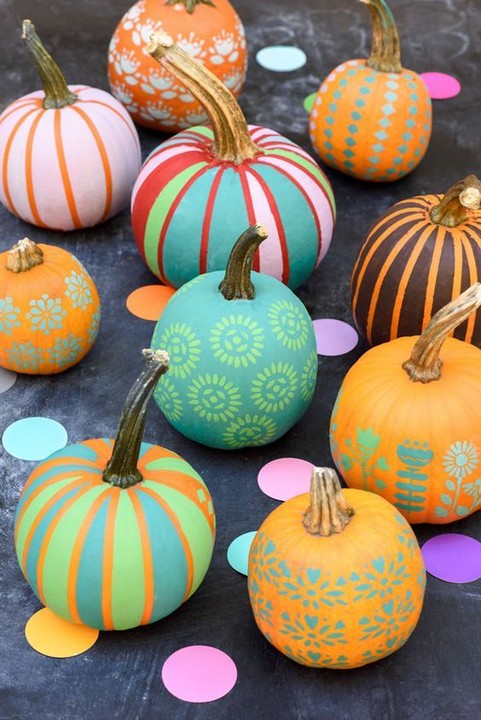
Once the base coats are dry, you can add fine details using smaller brushes. This is where you can really make your design pop.
10. Let It Dry
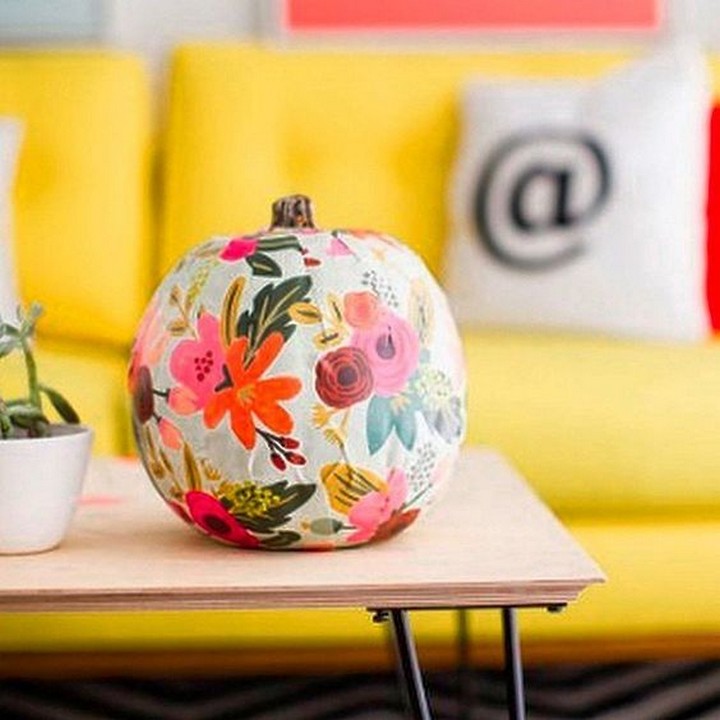
Ensure your pumpkin is completely dry before moving it or applying any sealant (if you choose to use it).
11. Seal Your Design (Optional)
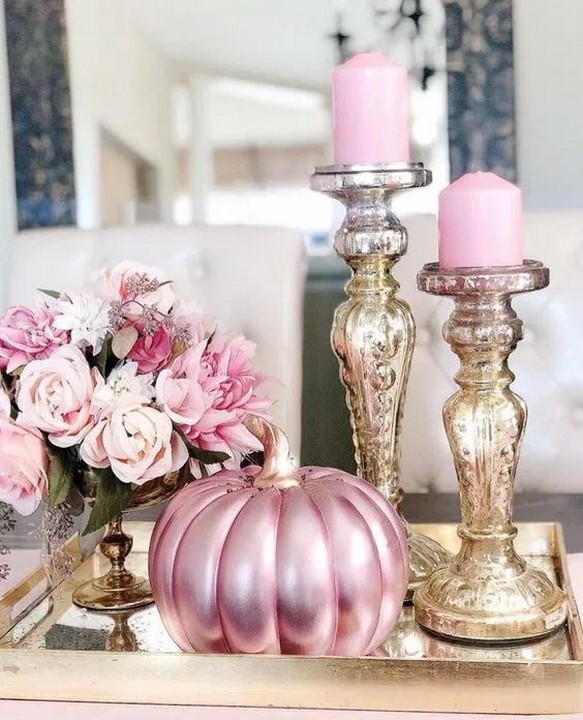
To protect your painted pumpkin, you can apply a clear acrylic sealant. This will help preserve the paint and extend the life of your design.
12. Display Your Painted Pumpkin
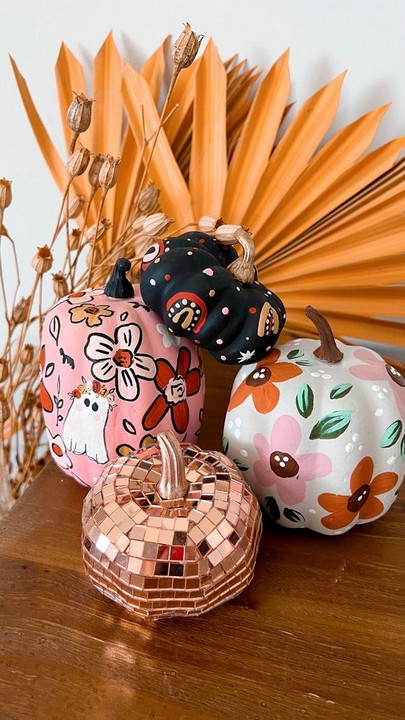
Place your painted pumpkin as a decoration on your doorstep, in your home, or wherever you’d like to showcase your DIY creation.
Remember, pumpkin painting is a great way to get creative and experiment with different designs and color combinations. Don’t be afraid to make mistakes, and feel free to express your unique style in your painted pumpkins.

